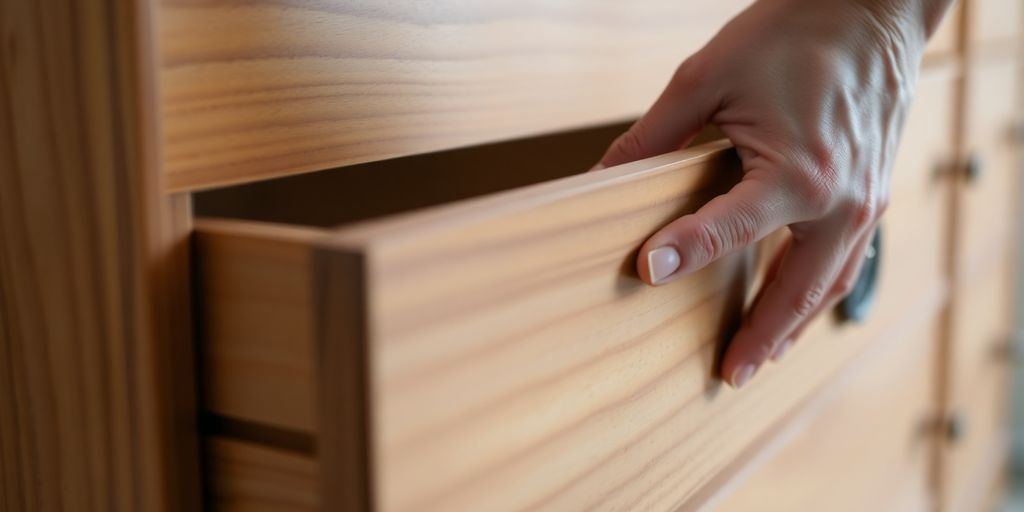
A Step-by-Step Guide on How to Remove Drawer from Dresser without Damage
Removing drawers from a dresser can seem difficult at first, but it’s actually a straightforward task if you follow the right steps. This guide will help you understand how to remove a drawer from a dresser without causing any damage. We’ll go through everything you need to know, from preparing the area to understanding different types of drawer mechanisms. Whether you’re cleaning, moving, or fixing something, these tips will make it easy for you.
Key Takeaways
- Clear the area around the dresser before starting the removal process.
- Identify the type of drawer mechanism to use the right removal technique.
- Basic tools like a screwdriver and putty knife can help with the process.
- Be gentle and patient to avoid damaging the dresser or drawers.
- Regular maintenance can prevent future problems with drawer removal.
Preparing for Drawer Removal

Gathering Necessary Tools
First things first, you gotta grab the right tools. You don’t wanna start and then realize you’re missing something halfway through. Here's what you'll need:
- Screwdriver: Flathead or Phillips, depending on your dresser.
- Putty knife: Handy for scraping away any gunk.
- Flashlight: Because, let's face it, it’s dark in there.
Clearing the Surrounding Area
Before you dive into pulling drawers, make sure the area around your dresser is clear. This is gonna save you from tripping over stuff or knocking things over.
- Take off anything sitting on top of the dresser.
- Make sure there's enough space to fully pull the drawer out.
- Keep the kids and pets out of the way. You don’t need extra chaos.
Ensuring Safety Precautions
Safety’s gotta be your number one priority. Here’s how you can keep it safe:
- Wear gloves to protect your hands from any sharp bits.
- If your dresser’s tall, use a sturdy ladder so you’re not stretching awkwardly.
- Check for any loose parts that might fall off when you’re working.
Take it slow and steady. Rushing can lead to mistakes, and mistakes can lead to broken drawers or worse, injuries. Better safe than sorry, right?
Understanding Different Drawer Mechanisms
Knowing how different drawer mechanisms work can really help when you're trying to take a drawer out without messing it up. Understanding these mechanisms saves you time and prevents damage. Let's break it down:
Identifying Drawer Types
- Wooden Glides: These are the old-school type. You usually find them in vintage furniture. The drawer slides on a wooden track, which is simple and classic.
- Metal Glides: More common in newer stuff, these can be side-mounted or under-mounted. They're smoother and last longer than wooden ones.
- Center Mounts: These are either wood or metal and sit right in the middle. You'll see these in mid-century modern pieces.
Recognizing Locking Mechanisms
- Stoppers: These keep the drawer from coming all the way out. They might be a bit tricky, but they're good for safety, especially with kids around.
- Levers and Buttons: Some drawers have these to lock them in place. Look for them on the sides or underneath.
Understanding Glide Systems
- Side-Mounted Glides: These are visible from the side and are pretty easy to install.
- Under-Mounted Glides: Hidden from view, these need a bit more precision when installing.
- Center-Mounted Glides: These are easy to spot and install, but they don't hold as much weight as the others.
Knowing what type of drawer you're dealing with makes the removal process way easier. It's like knowing the secret handshake to get it out smoothly.
Removing Drawers with Bottom Slides
Pulling the Drawer Out
Alright, first thing's first. Pull the drawer out as far as it will go. But hey, don't yank it all the way out just yet. We want enough wiggle room to work with. Keep it level, or you might mess up the slides.
Locating and Releasing the Locking Mechanism
Next up, check for any locking mechanisms. These could be little buttons or levers, hiding out of sight. If you spot one, press it. You should hear a click when it lets go of the slides. It's like a secret handshake with your dresser.
Removing the Drawer from the Slides
Finally, grab the drawer box with both hands. Give it a little wiggle and lift until you hear another click. That means the drawer is free from the bottom slides. If it’s stuck, grab a putty knife to clear any junk blocking the slide.
Take your time with this. Rushing might mean damage to the drawer or the dresser. Patience is your friend here.
Handling Common Drawer Removal Issues
Dealing with Stuck Drawers
So, your drawer's stuck, huh? Happens to the best of us. Here's a quick fix:
- Check for Obstructions: Look inside the drawer. Sometimes stuff gets jammed in there, blocking the way.
- Inspect the Slides: Make sure they're not bent or out of place.
- Give it a Wiggle: Pull gently and wiggle the drawer side to side. Sometimes that's all it takes.
Handling Broken Slides
If your slides are busted, don't worry. You can fix it:
- Identify the Slide Type: Know what you're dealing with—metal or wooden.
- Buy New Slides: Head to your local hardware store for replacements.
- Follow Instructions: Install them right to avoid more headaches.
Using a Putty Knife for Debris Removal
Got debris causing issues? A putty knife's your friend:
- Slip the knife between the drawer and frame.
- Scrape out any gunk or dirt.
- Wipe it clean with a cloth for smooth sliding.
Take it slow and easy. Rushing can mess up your drawer and dresser.
Tackling these common problems makes removing drawers a breeze. If things get too hairy, better call in a pro to avoid making it worse.
Maintaining and Reinstalling Dresser Drawers
Cleaning the Drawer Slides
Alright, so keeping those dresser drawers sliding like butter is all about regular cleaning. Here's a simple way to do it:
- First, take the drawer out of the dresser. Careful not to yank it.
- Grab a damp cloth and wipe down the slides. If there's stubborn grime, a mild cleaner should do the trick.
- Make sure you dry the slides completely before you pop the drawer back in.
Lubricating the Tracks
Lubrication makes everything smoother. Here's the lowdown:
- Get yourself a silicone spray or something similar.
- Spray it on the tracks and slides, but don't go overboard.
- Slide the drawer in and out a couple of times to spread the lubricant evenly.
Checking for Loose Hardware
Nobody likes a wobbly drawer, right? So, every once in a while, give your dresser a once-over:
- Tighten any loose screws you spot.
- If screws are missing, replace them pronto.
- Make sure everything's snug and secure.
Taking care of your dresser drawers now can save you a lot of hassle down the road. A bit of regular maintenance goes a long way in avoiding those annoying sticking or breaking issues.
When to Seek Professional Help

Identifying Irreparable Damage
Alright, so you've been trying to fix that drawer, but it's just not happening. Sometimes, you gotta know when to throw in the towel. If the drawer is warped, cracked, or just refuses to fit back in the dresser, it might be beyond a DIY fix. Seriously, if the wood's splitting or the sliders are completely busted, it's time to call in the pros.
Finding a Qualified Professional
So, you're thinking about getting some help. Good move. You want someone who knows their stuff, right? Look for a carpenter or furniture repair specialist. Ask around, maybe check online reviews. A good pro will have the tools and know-how to get your drawer back in shape without causing more damage.
Cost Considerations
Now, let's talk money. Hiring a professional isn't free, but it might save you from buying a whole new dresser. Get a few quotes to see what you're dealing with. Remember, sometimes spending a little on repairs can save you a lot in the long run. It's all about finding that sweet spot between cost and quality.
Sometimes, trying to fix it yourself can end up costing more. Know when to step back and let a professional handle it. It's not about giving up; it's about getting it done right.
Final Thoughts on Removing Dresser Drawers
In summary, taking out drawers from your dresser can be a simple task if you follow the right steps. By understanding the type of slides your drawers have and using the correct techniques, you can remove them without causing any harm. Whether you are cleaning, moving, or making repairs, this guide has given you the key tips to make the job easier. Always remember to be gentle and patient, and soon you'll be able to handle drawer removal like a pro!
Frequently Asked Questions
What are bottom slides on dresser drawers?
Bottom slides are hidden tracks located under the drawer that help it open and close smoothly.
How can I tell if my dresser has bottom slides?
Check under the drawer for tracks or look for buttons or levers on the sides that might indicate bottom slides.
What tools do I need to remove a drawer from a dresser?
You'll need a screwdriver, a putty knife, and possibly a flashlight to see better.
What should I do if my drawer is stuck?
Try checking for items inside that might be blocking it, and gently wiggle the drawer while pulling it out.
How can I maintain my dresser drawers?
Regularly clean the slides and lubricate them with a silicone spray to keep them working well.
When should I call a professional for help?
If you notice serious damage to the drawer or slides that you can't fix, it's best to seek professional help.