How to Replace Weatherstripping on a Window or Door
Over time, windows and doors start to become more drafty. This is usually just normal everyday wear and tear and weathering of the unit. If this is used multiple times a day or if it is stuck on the sunny side and getting beat on with UV, it will increase the rate your window or door will stat to degrade.
Weatherstripping can be a simple fix if you start to have a more drafty window. Usually this can be an easy fix, but will take some time and effort to make sure you get the correct replacement weatherstripping. For example, if you know you have a Silverline window, there is an easy weatherstripping repair kit to fix a single window.

Step 1:
Check and make sure you truly need to replace the weatherstripping. Inspect the whole window and determine if this is a slide in or a stick on weatherstripping.
Step 2:
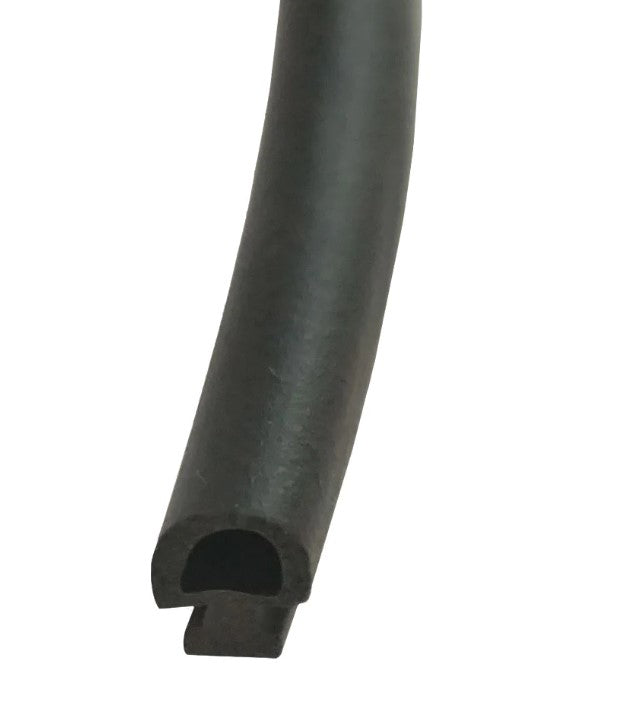
If this is a channel or slide in weatherstripping you need to take a piece out and compare the measurements to the options available. These have to be precise as there isn't a one size fits all. If you have a stick on version, you'll need to determine the width of the backer, and the height of the pile (fuzzy stuff).
Step 3:
If you cant find the one you need, you can always send picture or a sample in to us and we can try to help find what you need.
If this is a home repair project, we tend to lean people towards the stick on weatherstripping since the extruded channel ones are very tricky and need to be exact. It's helpful if you know the manufacturer of the window.
