How to Install Door Insulation: Guide to a More Energy-Efficient Home
Keeping your home warm in the winter and cool in the summer doesn’t have to mean sky-high utility bills. One of the most effective ways to improve energy efficiency is by insulating your doors. If you’ve been wondering how to install door insulation, you’re in the right place. This guide breaks down the process step by step—no professional experience required.
Why Door Insulation Matters
Doors, especially older ones, can be a major source of drafts and heat loss. Insulating them helps:
-
Reduce energy costs
-
Increase indoor comfort
-
Block out noise and dust
-
Improve overall energy efficiency
Luckily, door insulation is a simple DIY project that can be done with a few basic tools and materials.
What You’ll Need
Before getting started, gather the following:
-
Weatherstripping (foam tape, V-strip, or rubber gaskets)
-
Door sweep or draft stopper
-
Scissors or utility knife
-
Measuring tape
-
Screwdriver or drill
-
Adhesive (if not included with weatherstripping)
How to Install Door Insulation
Step 1: Check for Drafts
Before installing anything, identify where air is leaking. Common problem areas include the sides, top, and bottom of the door. Close the door and run your hand along the edges to feel for drafts.

Step 2: Measure the Door Frame
Use a measuring tape to determine the dimensions of the top and sides of the door frame. This will help you cut your weatherstripping to the correct size.

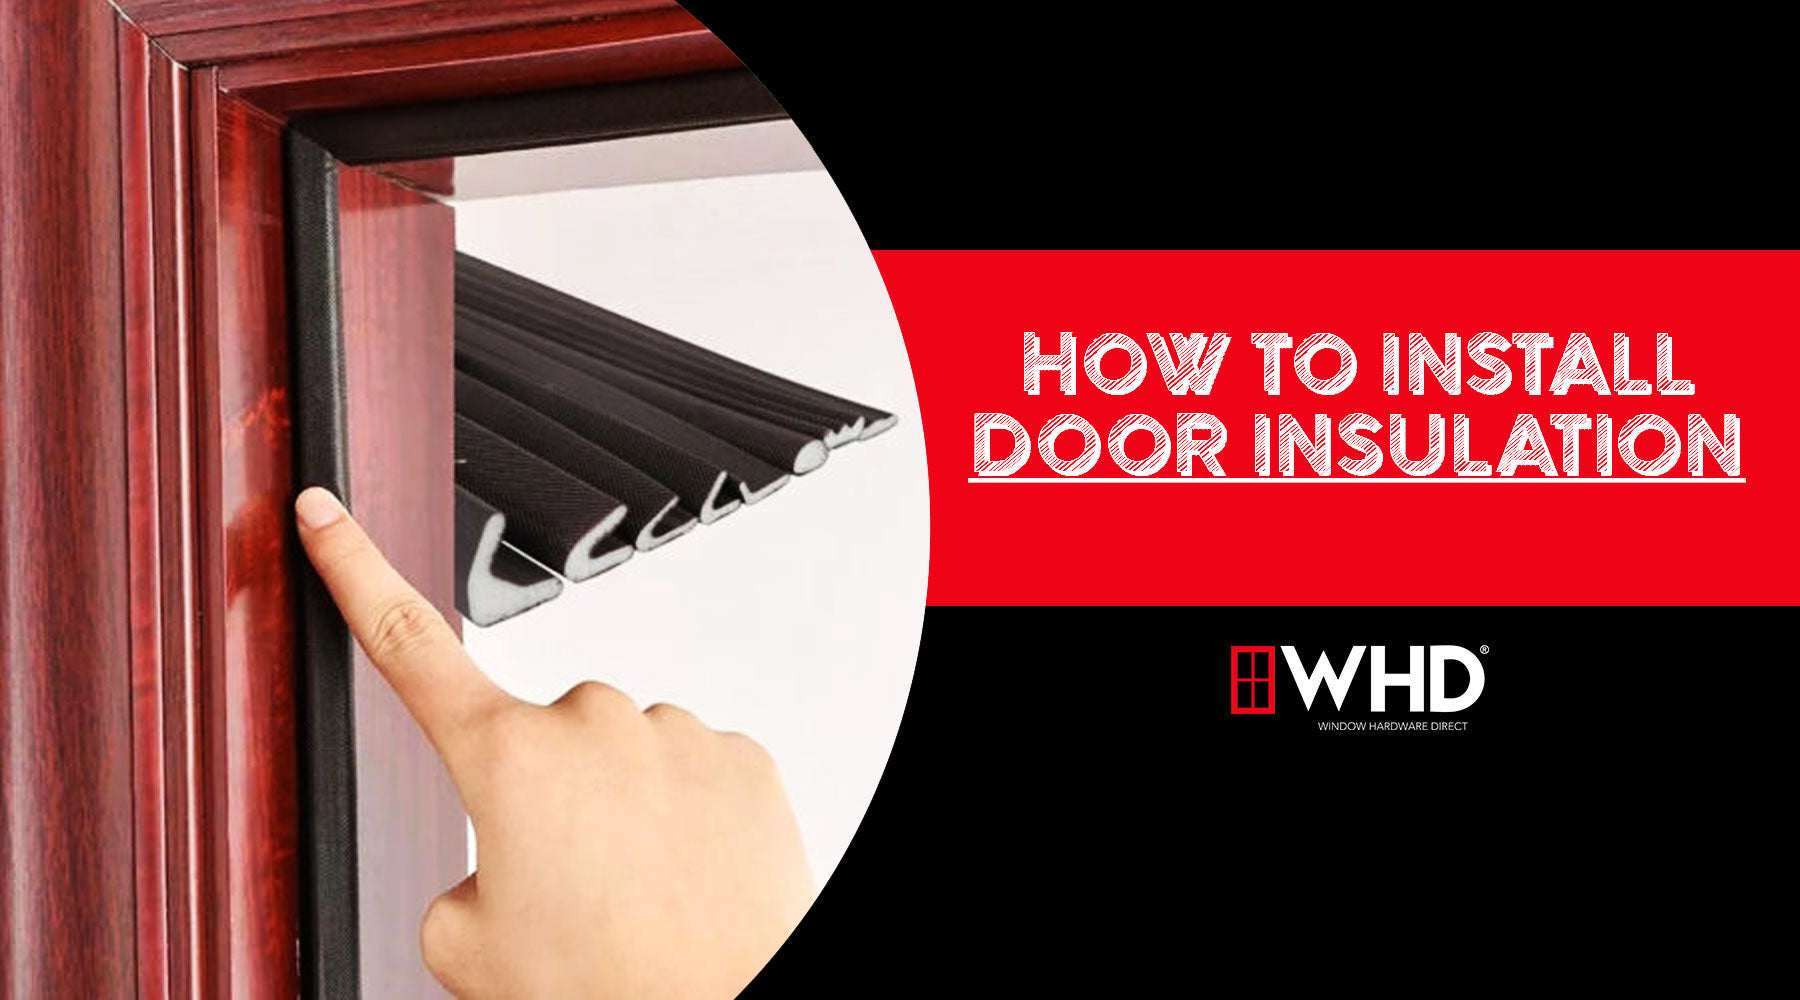
Step 3: Apply Weatherstripping
Choose the right type of weatherstripping for your door. Foam tape is easy to use, while rubber or vinyl gaskets provide a tighter seal. Cut the strips to fit and press them firmly into place along the inside edge of the door frame.

Step 4: Install a Door Sweep
The bottom of the door is often the biggest source of drafts. A door sweep or draft stopper will help seal this gap. Most door sweeps are screwed into place, while others use adhesive. Line it up with the bottom edge of the door and attach according to the product instructions.

Step 5: Test and Adjust
Close the door and test for any remaining drafts. Make adjustments as needed—sometimes re-positioning or adding an extra layer of insulation helps.

Bonus Tips
-
Use a silicone sealant for larger gaps or cracks
-
Recheck and replace insulation annually, especially in high-use doors
-
Consider insulating your garage and patio doors for even better results
Conclusion
Learning how to install door insulation is a smart, cost-effective way to enhance your home's comfort and energy efficiency. Whether you're prepping for winter or trying to keep cool air inside during the summer, this simple project can make a noticeable difference. Best of all? You can tackle it in under an hour. For more information or help ordering the correct weatherstripping, Contact The WHD Team! We look forward to assisting you.