How to Remove a Window Beading: A Step-by-Step Guide
Window beading—also known as glazing bead—is a crucial component that secures the glass pane within the window sash. Whether you’re replacing foggy glass, upgrading to energy-efficient glazing, or performing routine maintenance, knowing how to remove a window beading is essential. This guide walks you through the safe and proper process to remove beading without damaging your window frame or glass.
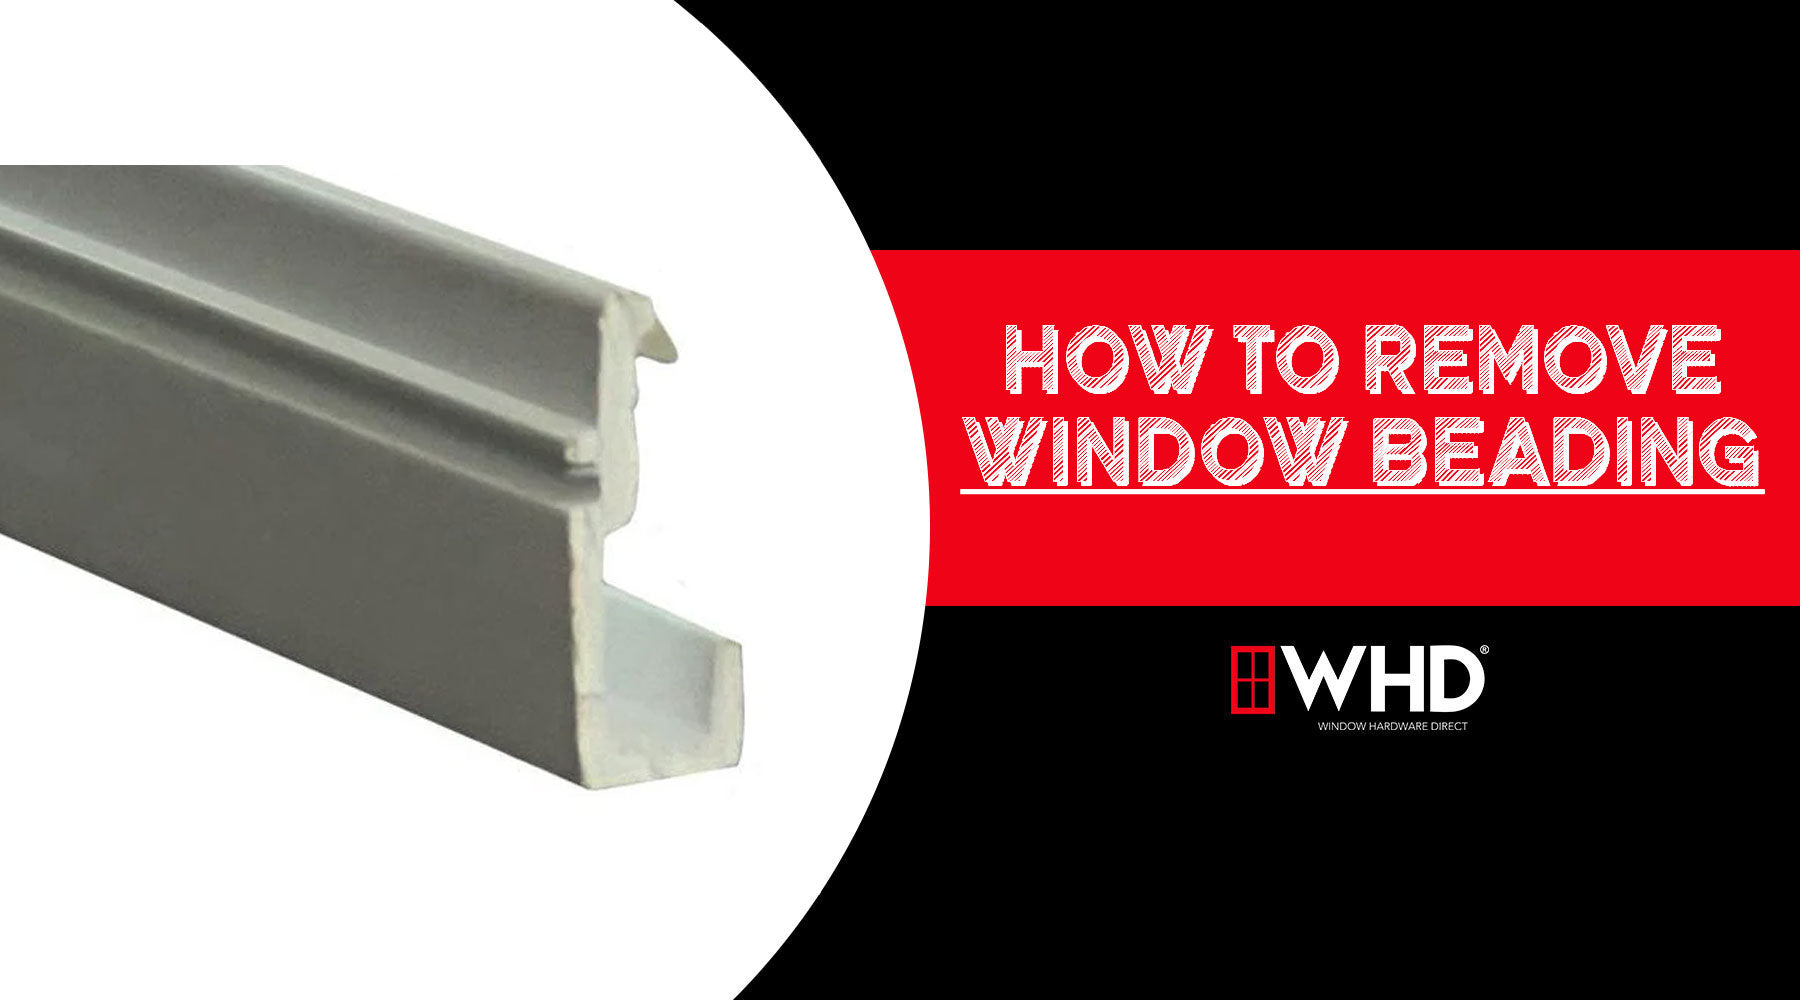
What Is Window Beading?
Window beading is a strip, often made of vinyl, wood, or aluminum, that holds the glass securely in place inside the frame. It’s usually found on the interior or exterior of the window and must be removed before the pane can be taken out or replaced.
Tools You’ll Need:
-
Putty knife or utility knife
-
Flathead screwdriver or pry bar
-
Safety gloves and goggles
-
Painter’s tape (optional)
-
Rubber mallet (for reinstallation)
How to Remove a Window Beading
1. Inspect the Beading Location
First, determine whether the beading is on the inside or outside of the window. Most modern windows have interior beading for security and weather resistance.

2. Score the Edges (If Painted or Caulked)
If the beading is painted or sealed, use a utility knife to carefully score the edges where the bead meets the frame. This prevents chipping or splintering when prying it loose.

3. Insert a Putty Knife or Pry Tool
Gently wedge a putty knife or flathead screwdriver between the beading and the frame. Start in the middle of a bead, not the corner, to reduce the risk of snapping it.

4. Pry Carefully
Apply gentle pressure to lift the bead. Work your way down the strip, easing it out inch by inch. For wood beads, be especially cautious to avoid cracking.

5. Repeat for All Sides
Once the first bead is removed, continue around the perimeter. Typically, you'll remove the side beads first, followed by the top and bottom.

6. Remove the Glass (If Needed)
With all beads removed, the glass pane should come out easily. Be sure to handle it with care, especially if it’s large or damaged.

Pro Tips
-
Label the Beads: If you plan to reuse the existing beading, mark each one so you know where it came from.
-
Use Painter’s Tape: Tape the surrounding area to protect the frame’s finish.
-
Don’t Force It: If a bead is stubborn, stop and score it again or apply slight heat with a hairdryer to soften old paint or caulk.
When to Replace the Beading
If the window beading is brittle, warped, or cracked during removal, it’s best to replace it with new material. This ensures a tight seal and professional finish when reinstalling the glass. For extra efficiency and security, we recommend replacing or adding weatherstripping to the window.

Conclusion
Learning how to remove a window beading is a simple yet vital skill for anyone involved in window repair or maintenance. With the right tools and a careful approach, you can remove the beading safely and prepare your window for glass replacement or frame restoration.
Whether you're a DIY enthusiast or a building maintenance professional, mastering this task will help extend the life and performance of your windows. For more information or assistance ordering replacement glazing, Contact The WHD Team! We look forward to helping you.