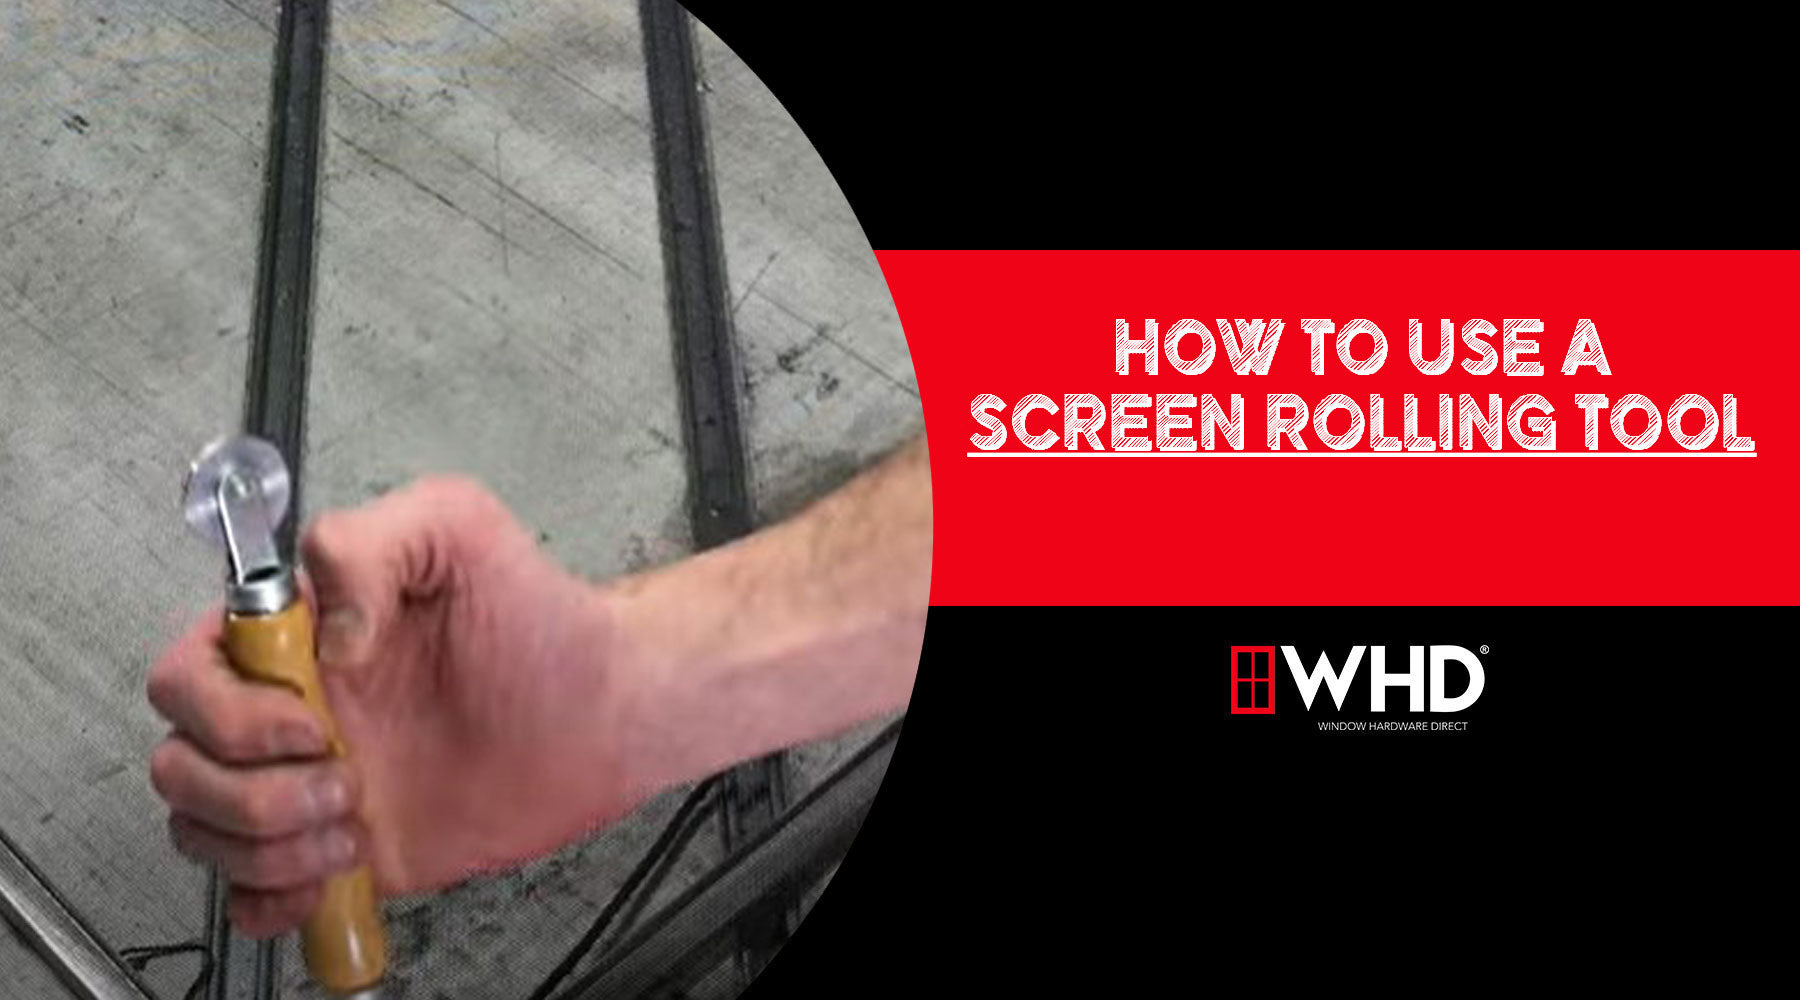
How to Use a Screen Rolling Tool: A Step-by-Step Guide for DIY Window and Door Repairs
Replacing or installing a window or door screen may seem like a small task, but doing it correctly requires the right tools—most importantly, a screen rolling tool. Whether you're a homeowner tackling a minor repair or a facilities technician maintaining commercial window systems, learning how to use a screen rolling tool can save time, money, and frustration.
What Is a Screen Rolling Tool?
A screen rolling tool (also known as a spline roller) is a handheld device used to press screen mesh and spline into the groove of a window or door screen frame. It typically has two wheels—one convex (rounded) and one concave (grooved)—mounted on a handle. These wheels help guide and press the spline (a flexible cord) over the mesh and into the frame channel securely.

How to Use a Screen Rolling Tool
Step 1: Gather Your Materials
Before you begin, you’ll need:
-
New screen mesh (fiberglass or aluminum)
-
Spline (rubber or vinyl)
-
A utility knife or scissors
-
A flat work surface
-
A screen frame (existing or new)

Step 2: Prepare the Screen Frame
Lay the screen frame flat on your workbench. If you're replacing an old screen, remove the existing mesh and spline using a flathead screwdriver or similar tool. Clean the spline groove to remove any dirt or debris.

Step 3: Cut the New Screen Mesh
Unroll the mesh over the frame, ensuring it extends at least 1 inch beyond each edge of the frame. Cut it to size using scissors or a utility knife. Don’t worry about precision here—you’ll trim the excess later.

Step 4: Position the Spline
Starting at a corner of the frame, place the spline over the mesh along the groove. Hold it in place with your fingers to prevent slipping.

Step 5: Use the Screen Rolling Tool
Here’s where knowing how to use a screen rolling tool is crucial:
-
Use the concave wheel first. Position it over the spline and press down while rolling along the groove. This action pushes the spline into the channel, securing the mesh.
-
Maintain even pressure and roll slowly to avoid damaging the mesh or stretching it unevenly.
-
Work your way around all four sides of the frame, turning the corner carefully.
-
Use the convex wheel if needed to pre-press the mesh into the groove before inserting the spline or to tighten any loose areas.

Step 6: Trim the Excess Mesh
Once the spline is fully seated, use a utility knife to trim the extra mesh along the inside edge of the spline. Be careful not to cut into the new screen or the spline itself.

Step 7: Inspect the Finished Screen
Check for loose spots, bubbles, or areas where the spline isn’t fully inserted. If needed, re-roll those sections with the screen rolling tool.
 Tips for Success
-
Always test the screen rolling tool on a scrap piece of mesh before starting your actual frame.
-
For commercial-grade screen frames, a sturdier roller or an industrial screen rolling tool may be required.
-
Use a spline that fits snugly in the groove—too thick and it won’t go in, too thin and the mesh won’t stay tight.
Conclusion
Understanding how to use a screen rolling tool is a simple but valuable skill for anyone managing window and door maintenance. Whether you're updating residential screens or maintaining large-scale commercial facilities, this handy tool ensures a professional, secure fit every time. With just a few basic steps and some attention to detail, you’ll be able to install or repair screens with confidence and efficiency. For more information on screen repair or assistance placing an order for replacement material, Contact Us Today! The WHD Team is here to help.
