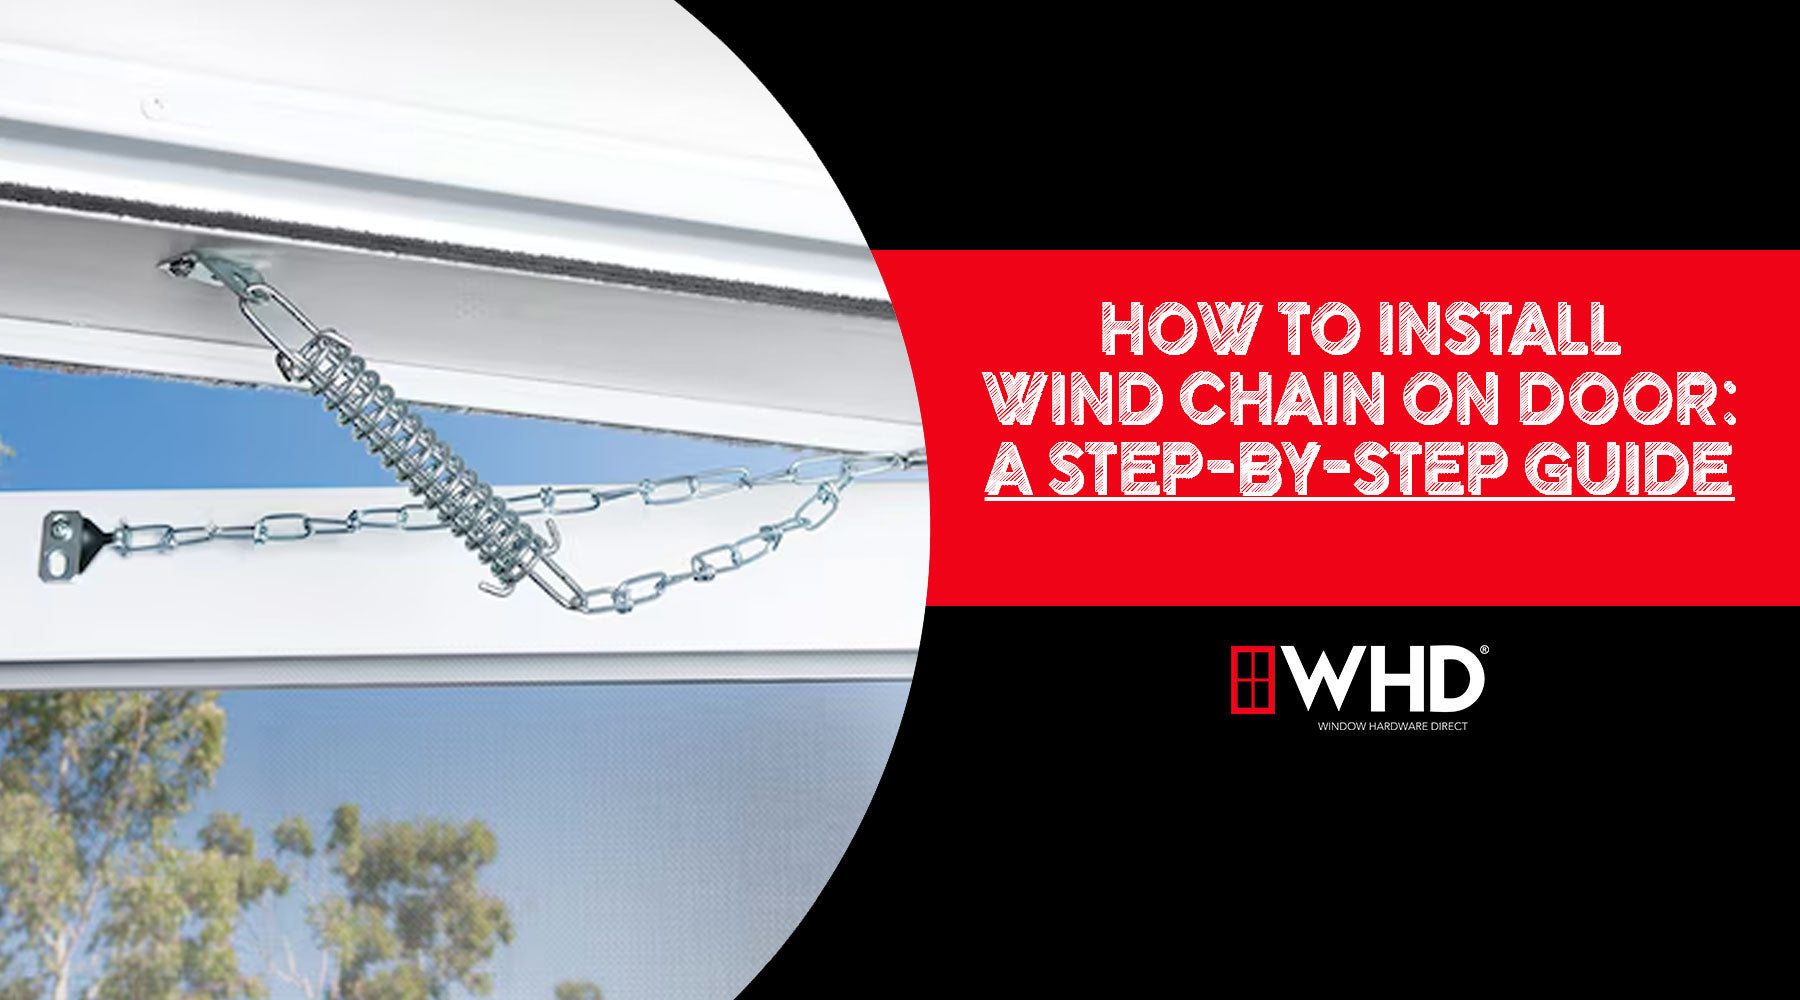
How to Install Wind Chain on Door: A Step-by-Step Guide
Installing a wind chain on a door is a simple and effective way to prevent damage caused by strong gusts of wind. Wind chains—also known as door wind chains or door restraints—act as a buffer, stopping the door from swinging open too far and potentially harming the door, hinges, or surrounding structure. If you're wondering how to install wind chain setups (typically seen on storm doors), follow this easy step-by-step guide.
What You’ll Need:
-
Power drill or screwdriver
-
Measuring tape
-
Pencil or marker
-
Level (optional)
1: Choose the Mounting Location
Begin by opening the door to about 90 degrees. The ideal location for installing the wind chain is near the top of the door—typically 4 to 6 inches below the upper corner of the door frame. Make sure the chosen location allows the chain to catch the door before it can overextend.

2: Mark Screw Holes
Hold the door-side bracket against the door and the jamb-side bracket against the door frame. Use a pencil to mark the screw hole locations on both the door and frame. Ensure the chain is aligned straight and taut (but not overextended) when the door is open.

3: Drill Pilot Holes
To make installation easier and prevent wood from splitting, drill small pilot holes at each of the marked spots. This step is especially important if you’re installing the window chain into solid wood or metal doors.

4: Attach the Brackets
Use a screwdriver or power drill to fasten the wind chain brackets to the door and frame. Make sure the screws are securely tightened and the brackets sit flush against the surfaces.

5: Connect the Chain
Attach the chain to both brackets using the included pins or hooks. Once connected, test the chain by gently opening the door. It should stop at the desired point and prevent the door from swinging too far.

6: Test and Adjust
Open and close the door several times to ensure the chain functions correctly. If the door opens too far or the chain is too tight, adjust the bracket positions slightly and reattach if necessary.

Tips for Success
-
Use rust-resistant hardware if the door is exposed to outdoor conditions.
-
Periodically check the chain and brackets for wear and tighten any loose screws.
-
We recommend occasionally lubricating all door hardware depending on the frequency of use to preserve the longevity of your door application.
Conclusion
Learning how to install wind chain on door frames is a valuable skill for homeowners and property managers alike. Whether you're safeguarding a front porch entrance or a high-traffic storm door, this simple hardware addition can extend the life of your door and prevent unnecessary repairs.
With just a few tools and steps, you'll have a safer and more secure entryway in no time. For more information on installing wind chains or assistance ordering a replacement, Contact The WHD Team! We look forward to hearing from you.
