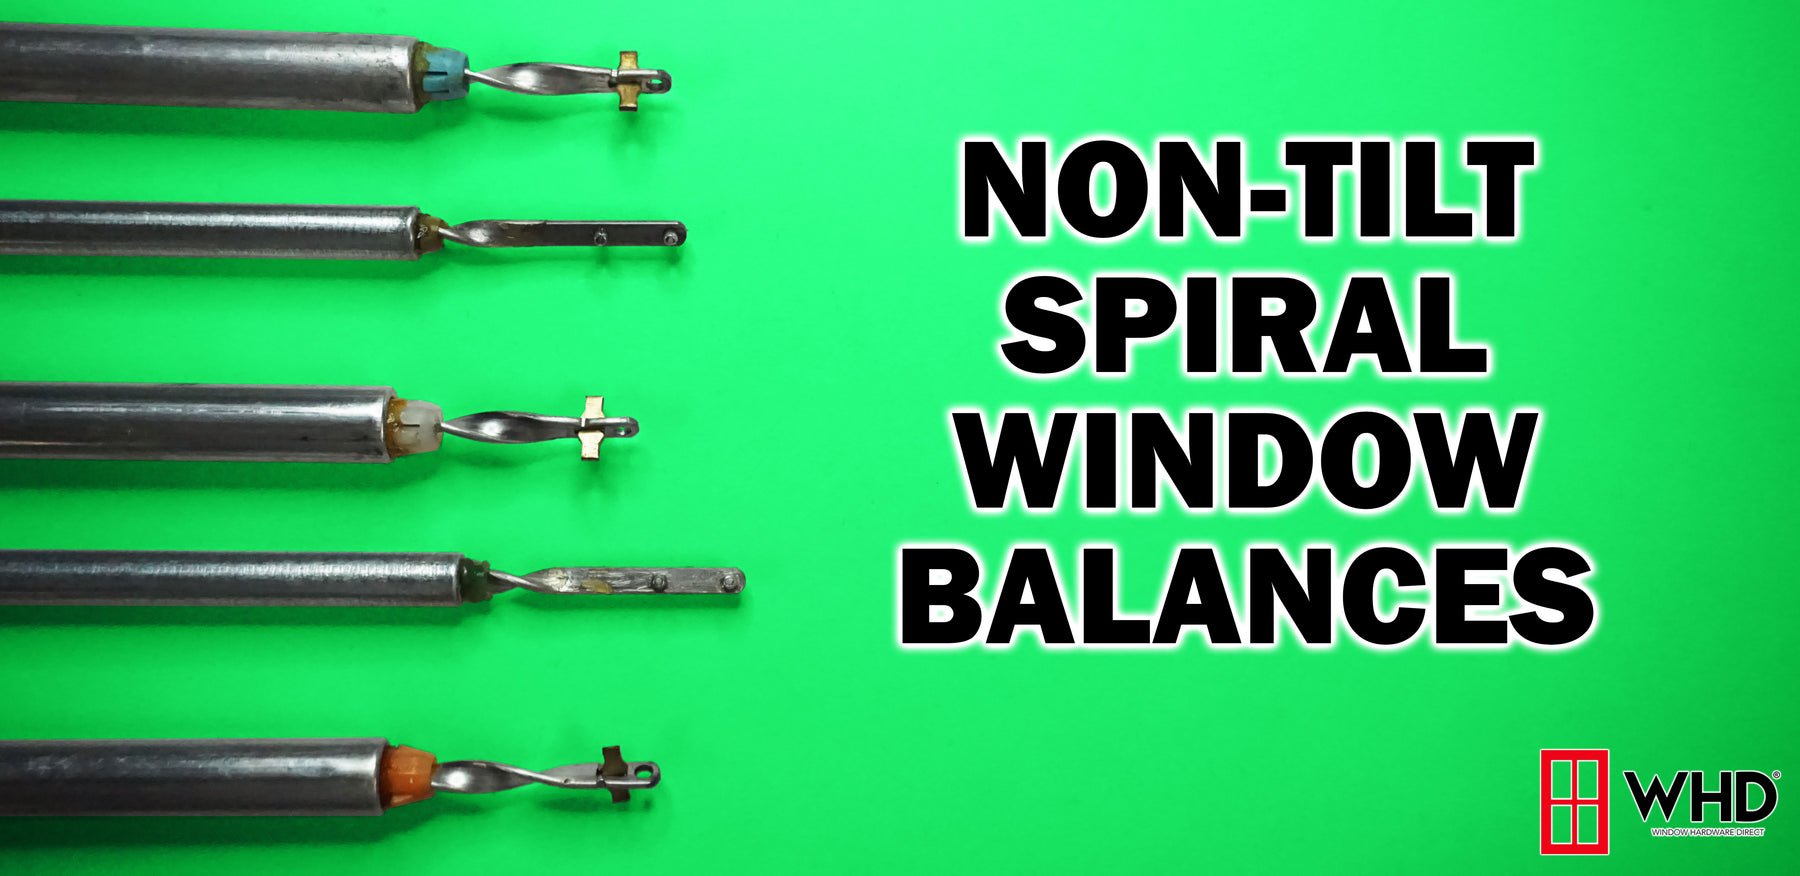
How to Replace Non-Tilting Spiral Window Balances
The process for replacing a spiral type counter balance in non-tilting double-hung window is easy. Follow these simple steps and your window will be working smoothly in no time.
Step 1:
The first step is to raise the sash all the way to the top. Then attach a vise grip or similar clamping device to hold the window open. Unhook the balance from the bottom of the sash. Next un-tension the balance. Now while supporting the window, remove the vise grip with caution, as the window will be heavy. Then slowly close the window.
Remove the screws at the top of the balance and remove the balance. Repeat the process on the other side of the frame.
Step 2:
You will now install the new balance by feeding it through the top of the lower sash. Mount the balance to the frame. Repeat on the other side. Raise window and again hold open with a vise grip or similar clamp. Using your fingers, push the balance rod up until it stops.
Step 3:
Then attach the adapter bracket to the bottom of the rod. Hook the tensioning tool in the lowest hole of the adapter bracket. Now turn tensioning clockwise 8-10 times. Once you complete this step, reattach the adapter bracket to the bottom of the window. Repeat the process on the other side of the window.
Last, install your stop at the top of the window to prevent overextension and permanent damage to your balance.
Finally, close the window fully. Your window should slide as good or better than new.
Conclusion & Additional Help:
Check out our other post to learn more about common window problems and how to address them.
Below you can watch a video of this process. As always, we're here to help so feel free to contact us if you have any questions. Don't forget to subscribe to our newsletter and YouTube channel for more helpful how-to guides and videos.