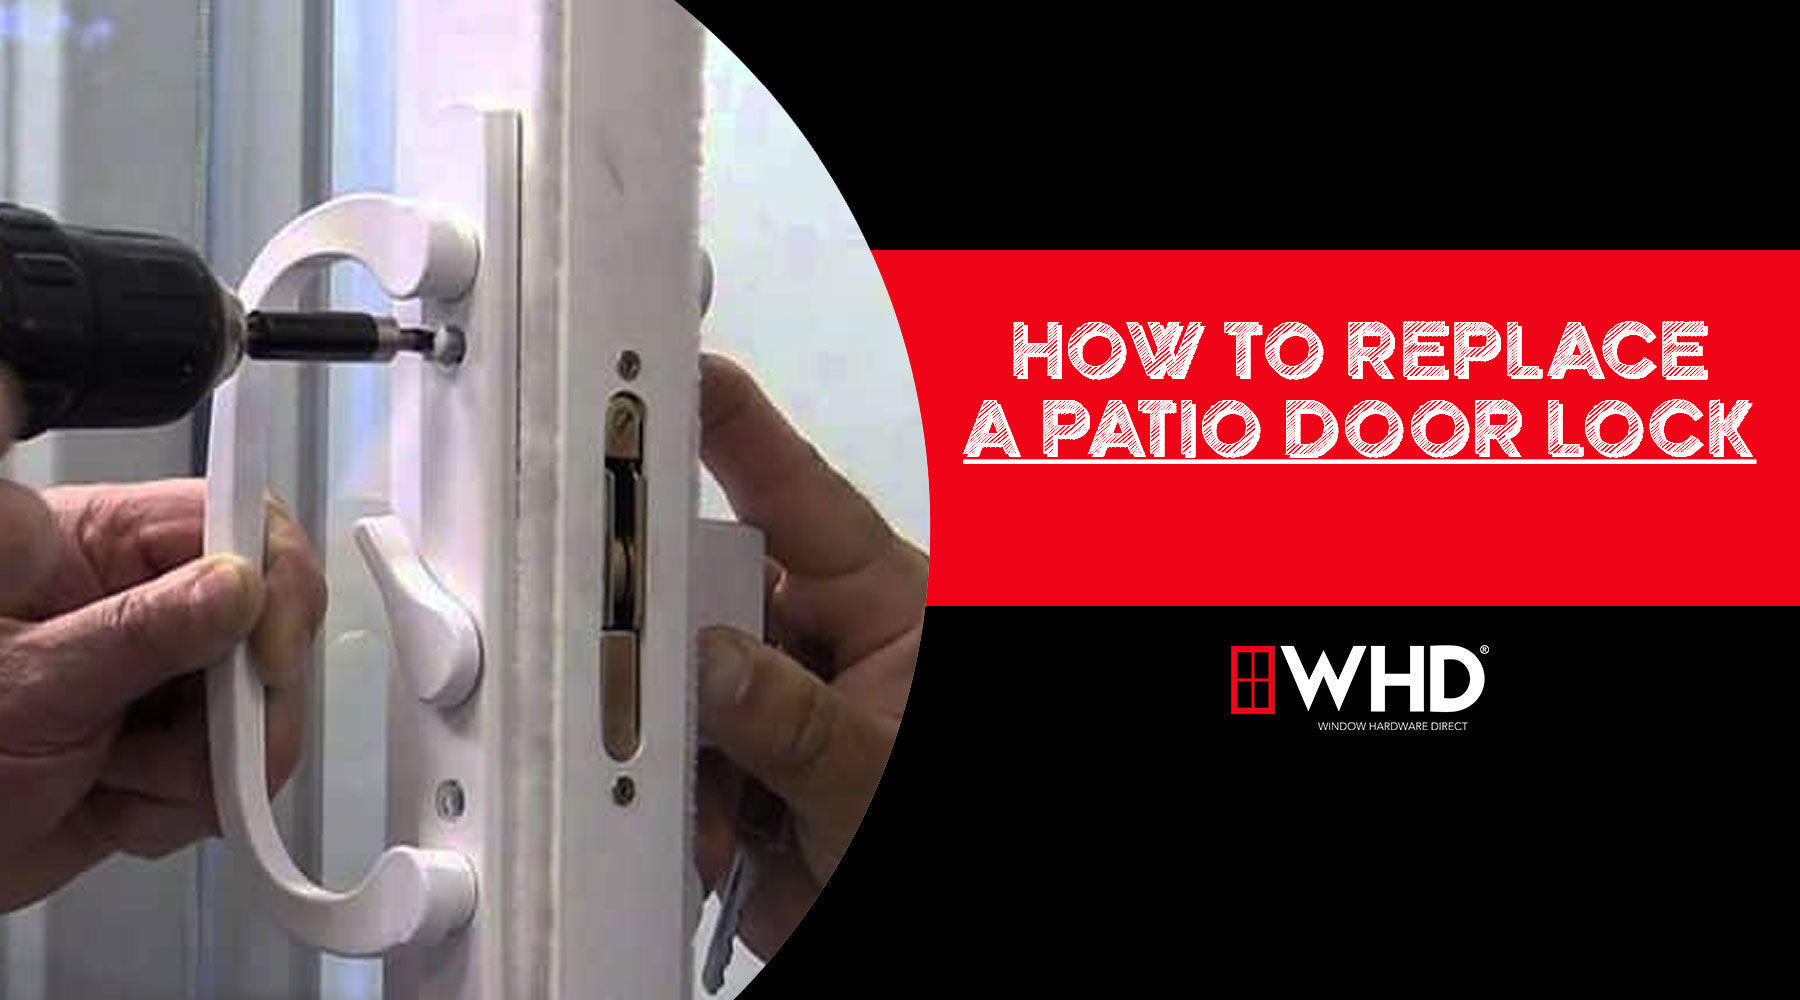
How to Replace Patio Door Lock: A Step-by-Step Guide
If your patio door lock is broken, outdated, or simply no longer secure, replacing it is a smart and necessary home maintenance task. Knowing how to replace patio door hardware can save you time, money, and the hassle of calling a professional. With just a few tools and a little patience, you can restore your door’s security in no time.
Why Replace a Patio Door Lock?
There are several reasons you might want to replace your patio door lock:
-
Security Concerns: A faulty or weak lock can be an open invitation to intruders.
-
Wear and Tear: Locks can corrode, jam, or become loose over time.
-
Upgrading: Modern locks often offer better durability and security features.
-
Lost Keys: If you’ve misplaced keys or recently moved, a lock replacement is a wise move.

Tools and Materials You’ll Need:
Before you begin, gather the following:
-
Screwdriver (Phillips or flathead, depending on your lock)
-
Tape measure (optional, for fitting)
-
Drill (if new holes are needed)
-
Lubricant spray (for sticky sliding doors)
Steps to Replace Patio Door Lock
Step 1: Identify Your Lock Type
Patio doors can have different types of locks, such as:
-
Mortise locks (embedded into the frame)
-
Surface-mounted locks (installed directly onto the door surface)
-
Sliding door latches or keyed locks
Make sure you purchase a compatible replacement lock by checking the brand and dimensions of your current one.

Step 2: Remove the Old Lock
Open the patio door fully. Using your screwdriver, remove the screws holding the old lock in place. Be careful not to strip the screw heads. Gently pull out the lock components from the door and set them aside.

Step 3: Prepare the Door for Installation
Check the lock cavity for debris, rust, or damage. Clean the area thoroughly. If you’re switching to a different lock style, you may need to drill new holes or patch old ones.

Step 4: Install the New Lock
Insert the new lock into the same position as the old one. Align it properly and secure it with screws. If your lock has a keyed entry or thumb latch, make sure the orientation matches your preference (usually with the latch inside and key slot outside).

Step 5: Test the Lock
Once installed, test the functionality. Open and close the patio door a few times, locking and unlocking to ensure smooth operation. If the lock sticks, a bit of lubricant can help ease the mechanism.

Bonus Tips
-
Keep spare parts: Hang on to screws or parts from the old lock—you never know when they might come in handy.
-
Upgrade smart: Consider locks with built-in alarms or smart home compatibility for enhanced security.
-
Regular maintenance: Lubricate and inspect your patio door lock annually to keep it in good shape. We also recommend adding or replacing old weatherstripping during your maintenance checks.
Conclusion
Learning how to replace patio door lock hardware is a valuable DIY skill that boosts your home’s safety and gives you peace of mind. With a bit of care and the right tools, you'll have your new lock installed and working like a charm in under an hour. For more information on replacing patio door locks or assistance ordering a replacement lock, Contact The WHD Team! We look forward to helping you.
