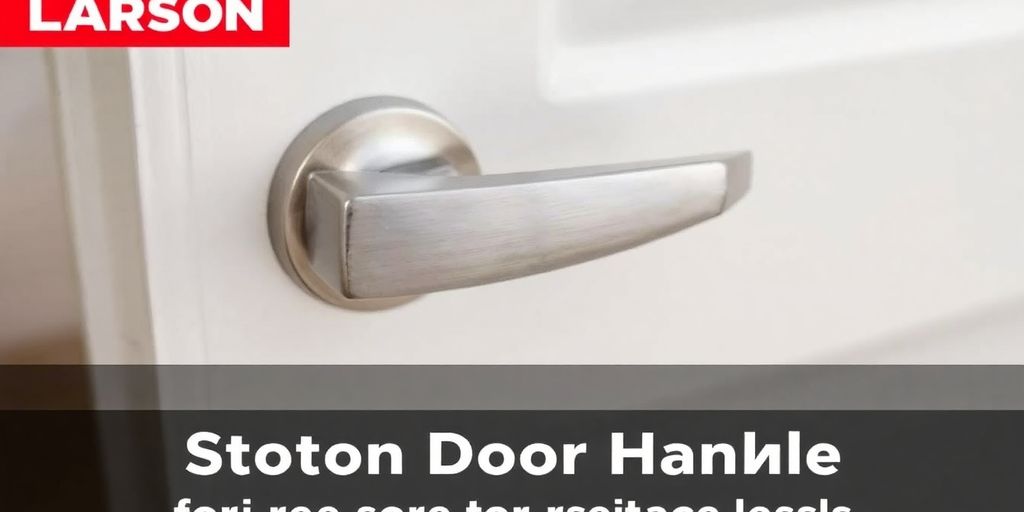
A Comprehensive Guide to Larson Storm Door Handle Replacement for Optimal Security
Replacing the handle on your Larson storm door is an important task that helps maintain your home's security and appearance. This guide will help you understand why you might need to replace your door handle, how to choose the right one, and the steps to do it yourself. With the right tools and knowledge, you can easily make this upgrade and ensure your door functions well for years to come.
Key Takeaways
- Replacing your storm door handle is a simple DIY task that can boost your home's security and style.
- Always check for signs of wear, like rust or loose parts, to know when it's time for a replacement.
- Make sure to measure your door correctly to find a handle that fits perfectly.
- Gather the right tools, such as screwdrivers and a tape measure, before starting the replacement.
- Regular maintenance, like cleaning and checking screws, will help keep your new handle in great shape.
Understanding the Need for Larson Storm Door Handle Replacement
Signs of Wear and Tear
Recognizing the signs of wear and tear on your Larson storm door handle is essential for maintaining the safety and functionality of your entryway. Common signs include:
- Rust or corrosion
- Loose handles
- Chipped paint
- Overall poor performance
These issues not only affect the security of your home but also its appearance. Addressing them quickly can improve both the efficiency and look of your door.
Desire for an Upgrade
Many homeowners feel the need to upgrade their Larson storm door handle set. This desire can arise from:
- Changing style preferences
- New design trends
- A need for better security features
Upgrading allows you to match your door's look with your home’s design, giving it a fresh feel. Newer handle sets often come with advanced security features, providing better protection against intruders.
Damage to the Existing Handle Set
If your current Larson storm door handle set is damaged—like broken parts or malfunctioning mechanisms—it's time for a replacement. Continuing to use a damaged handle can pose safety risks and compromise your home’s security. By replacing it promptly, you ensure your storm door works well and keeps your home safe.
Remember: Regularly checking your door handle can prevent bigger issues down the line.
In summary, whether it's due to wear and tear, a desire for an upgrade, or damage, understanding the need for a replacement is crucial for maintaining the security and functionality of your home.
Selecting the Right Replacement Handle Set
When replacing a Larson storm door handle set, choosing the right one is essential for both function and style. The handle set not only serves a practical purpose but also enhances the overall look and security of your home. Here’s what to consider:
Compatibility with Larson Storm Doors
- Ensure the handle set is designed for Larson storm doors.
- Check if it fits the existing drill holes to avoid extra work.
- Look for specific features that match your door's design.
Checking Door Measurements
Accurate measurements are key to a successful replacement. Measure the following:
- Thickness of the door
- Height and width of the door
- Ensure the new handle set aligns perfectly with these dimensions to avoid issues.
Matching Styles
Choosing a handle set that complements your door's design is important. Consider:
- The color and material of the handle set.
- Styles that reflect your personal taste.
- How the new handle set will enhance your home's curb appeal.
Remember, a well-chosen handle set can significantly improve the look and security of your home.
In summary, selecting the right replacement handle set involves checking compatibility, measuring accurately, and matching styles. This careful approach will ensure a smooth replacement process and a stylish finish for your Larson storm door.
Tools and Materials Needed for Replacement

When replacing a Larson storm door handle, having the right tools is essential for a smooth process. Here’s what you’ll need:
Essential Tools
- Phillips-head screwdriver: This tool is crucial for loosening and tightening screws.
- Flat-head screwdriver: Useful for prying and adjusting components.
- Tape measure: Ensures accurate measurements for a proper fit.
- Drill with bits: Helps create holes for screws and adjustments.
- Center punch: Marks where to drill for precision.
- Hammer: Can assist in driving in nails or making adjustments.
- Adjustable wrench: Useful for gripping and turning nuts and bolts.
- Utility knife: Handy for cutting materials as needed.
- Safety goggles: Protects your eyes during the process.
- Gloves: Keeps your hands safe and clean.
Optional Tools
- Pliers: Great for gripping and holding small parts.
- Hammer: While not necessary, it can help with certain tasks.
Gathering Materials
- New storm door handle set: Ensure it matches your door’s specifications.
- Screws: Have extra screws on hand in case of loss or damage.
- Replacement strike plate: Needed if the new handle requires it.
- Lock lubricant: Use graphite or silicone-based for smooth operation.
Preparing your tools and materials in advance can make the replacement process much easier and more efficient. Being organized is key!
By having everything ready, you can confidently tackle the replacement and enjoy a secure and stylish door.
Highlighted Product
- Consider the wrs 48" armor bar patio door security lock for enhanced security. This durable lock is easy to install and fits most standard patio doors, providing a reliable barrier against unauthorized entry.
Step-by-Step Guide to Replacing Your Larson Storm Door Handle
Removing the Old Handle
- Inspect the existing handle to understand how it is attached. Look for screws or covers that might hide the fasteners.
- Use a screwdriver to unscrew and remove the handle. Keep the screws safe for later use.
- Detach the latch mechanism from the door, which may require unscrewing additional parts.
- If needed, remove the strike plate from the door frame.
- Clean the door surface to prepare for the new handle.
Preparing the New Handle Set
- Gather your new handle set and ensure it matches your door's specifications.
- Check that you have all necessary tools, including a screwdriver and lubricant.
- Prepare the new handle by following the manufacturer's instructions.
Installing the New Handle Set
- Align the new handle with the existing holes in the door.
- Secure the handle in place using the screws you saved earlier.
- Test the handle to ensure it operates smoothly and locks properly.
By following these steps, you can successfully replace your Larson storm door handle, enhancing both security and functionality. Remember, a well-installed handle not only looks good but also provides peace of mind.
For added security, consider using the WRS storm door protector chain & spring. This durable accessory is designed to enhance the security and functionality of storm doors, ensuring reliable performance and peace of mind.
Troubleshooting and Maintenance Tips

Common Installation Issues
When replacing your Larson storm door handle, you might face some common issues. Here are a few to watch out for:
- Handle not operating smoothly: This can be due to misalignment. Make sure the handle is properly aligned with the door frame.
- Loose screws: Periodically check for any loose screws that may need tightening.
- Stiff movement: If the handle feels stiff, it might need lubrication. Applying a suitable lubricant can help reduce friction.
Regular Maintenance Practices
To keep your door handle in top shape, consider these maintenance tips:
- Regular cleaning: Use mild soap and water to clean the handle. This helps remove dirt without damaging the finish.
- Avoid harsh chemicals: Steer clear of strong cleaners that can harm the handle's surface.
- Periodic inspection: Check for any signs of wear or damage regularly to catch issues early.
Avoiding Harsh Chemicals
Using harsh chemicals can damage your handle set. Instead, opt for gentle cleaning solutions to maintain its appearance and functionality. This will help prolong the life of your handle set and keep it looking new.
Remember, proper maintenance is key to ensuring your Larson storm door handle lasts for years. Regular checks and cleaning can prevent many common issues.
Summary Table of Maintenance Tips
| Maintenance Task | Frequency | Importance |
|---|---|---|
| Regular cleaning | Monthly | Preserves appearance |
| Inspect for loose screws | Every 3 months | Ensures safety and functionality |
| Lubricate moving parts | As needed | Enhances smooth operation |
Enhancing Security with Advanced Handle Features
When it comes to securing your home, upgrading your storm door handle can make a significant difference. Advanced handle features not only improve convenience but also enhance your home's security. Here are some options to consider:
Keyless Entry Options
- Convenience: No need to carry keys.
- Security: Unique codes can be changed regularly.
- Access Control: Grant temporary access to guests.
Deadbolt Lock Features
- Extra Layer of Security: Provides added protection against break-ins.
- Durability: Often made from stronger materials than standard locks.
- Peace of Mind: Knowing your door is securely locked.
Smart Handle Technologies
- Remote Access: Lock or unlock your door from anywhere using your smartphone.
- Alerts: Receive notifications when someone enters or exits.
- Integration: Works with other smart home devices for enhanced security.
Upgrading to a handle with advanced features can significantly boost your home’s security, ensuring you feel safe and secure.
In summary, investing in a storm door handle with advanced security features is a smart choice for any homeowner. Not only do these options provide better protection, but they also offer convenience and peace of mind. Consider features like keyless entry, deadbolts, and smart technologies to enhance your home’s security effectively.
| Feature Type | Benefits |
|---|---|
| Keyless Entry | Convenience, Security, Access Control |
| Deadbolt Lock | Extra Security, Durability, Peace of Mind |
| Smart Technologies | Remote Access, Alerts, Integration |
Final Thoughts on Replacing Your Larson Storm Door Handle
In conclusion, replacing your Larson storm door handle is a straightforward task that can significantly improve your home's security and appearance. By carefully selecting the right handle set, preparing your tools, and following the installation steps, you can ensure a successful replacement. Remember to regularly check and maintain your new handle to keep it functioning well. With a little effort, you can enjoy a stylish and secure entryway that enhances your home.
Frequently Asked Questions
Why should I replace my Larson storm door handle?
You should replace your Larson storm door handle if you notice rust, loose parts, or if it doesn't work well anymore. A new handle can improve safety and make your door look better.
How do I choose the right handle for my Larson storm door?
To choose the right handle, check if it fits your door's size and style. Make sure it matches the holes already in your door.
What tools do I need to replace the handle?
You'll need a screwdriver, measuring tape, and possibly some lubricant. Having these tools will make the job easier.
Can I install the new handle myself?
Yes! Replacing the handle is a task you can do yourself with some basic tools and careful steps.
What should I do if my new handle doesn't fit?
If your new handle doesn't fit, double-check the measurements of your door and the handle. You may need to return it for a different size.
How can I keep my new handle in good shape?
To keep your new handle looking good, clean it regularly and avoid using harsh chemicals that could damage it.