
How to Install Plywood Over Windows for Hurricane Protection: A Step-by-Step Guide
Getting ready for hurricane season means making sure your home is protected. One of the best ways to do this is by putting plywood over your windows. It's not complicated, but you need to know what you're doing to make sure it works. This guide will walk you through picking the right plywood, gathering the tools you need, and installing it step-by-step. By the end, you'll be able to secure your windows without breaking a sweat. Let's get started on keeping your home safe with our easy-to-follow instructions on how to install plywood over windows for hurricane protection.
Key Takeaways
- Choose at least 5/8-inch thick exterior-grade plywood for best protection.
- Gather all necessary tools and materials before starting the installation.
- Measure windows carefully to ensure plywood fits properly and securely.
- Use the right fasteners for your home's siding type for optimal security.
- Store plywood properly after use to keep it in good condition for future storms.
Choosing the Right Plywood for Hurricane Protection
Understanding Plywood Grades and Thickness
When gearing up for hurricane season, picking the right plywood is key. Not all plywood is the same, and for protecting windows, you need something tough and reliable. Opt for at least 5/8-inch thick exterior-grade plywood. This thickness provides a solid barrier without being too heavy to handle. Exterior-grade plywood is treated to resist moisture, which is crucial since it will face harsh weather.
Benefits of Exterior-Grade Plywood
Exterior-grade plywood is specially designed to withstand the elements. It's treated to resist moisture, which means it won't easily warp or degrade when exposed to rain and humidity. This type of plywood offers a durable shield against the forces of nature, making it ideal for hurricane protection. Plus, it’s robust enough to handle the impact from flying debris, which is common during storms.
Calculating the Amount of Plywood Needed
Before heading to the store, calculate how much plywood you’ll need. Measure each window you plan to cover, adding at least an extra four inches on all sides for a secure fit. This overlap ensures the plywood can be fastened effectively around the window frame, reducing gaps that could let wind in. Here's a simple guide:
- Measure the width and height of each window.
- Add four inches to each dimension.
- Multiply the adjusted width and height to find the area of plywood needed per window.
Make sure you have enough sheets to cover all your windows entirely, keeping in mind you might need more if you have unusually large windows or doors.
Preparing properly for hurricane season means understanding the materials that best protect your home. With the right plywood, you can create a strong defense against storms, ensuring your home stays safe and secure.
Essential Tools and Materials for Installation

Gathering Necessary Tools
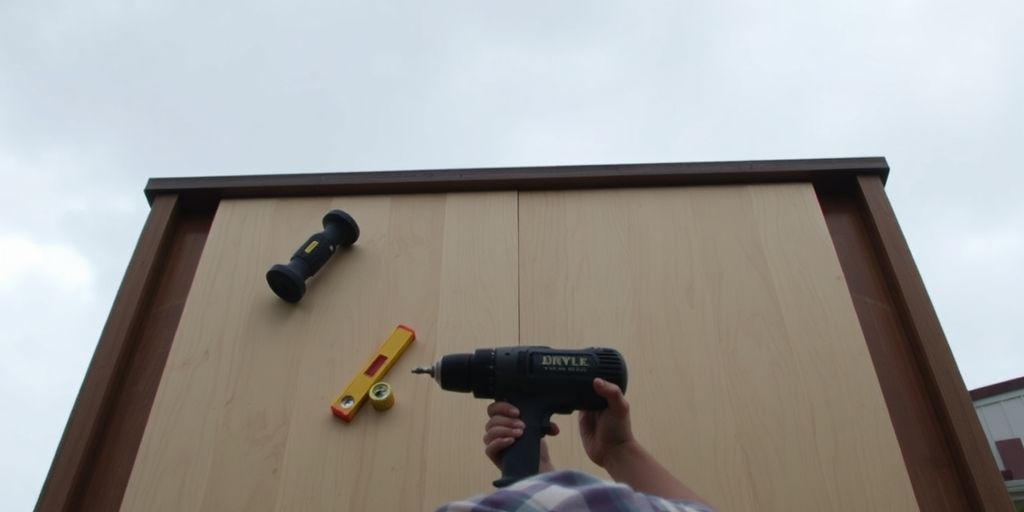
Before you get started, make sure you have all the tools you'll need. A tape measure and pencil are your best friends for accuracy. You’ll also need a circular saw or a hand saw to cut the plywood to the correct size. A drill is essential for making any necessary adjustments on-site. Don’t forget a hammer or mallet if you’re working with hurricane clips. Having these tools ready can save you a lot of time and hassle.
Selecting the Right Fasteners
Choosing the right fasteners can make a big difference in how well your plywood stays put. For wood or vinyl siding, use galvanized pan-head screws—they're corrosion-resistant and won't sink into the plywood. If your home has masonry walls, consider using 4-inch barrel bolts to fit the plywood securely inside the window openings. It’s important that any screws or bolts penetrate at least two inches into the framing for a solid hold.
Safety Equipment and Precautions
Safety should always be a priority. Equip yourself with sturdy gloves to protect your hands and safety glasses to shield your eyes from flying debris or sawdust. A dust mask is also a good idea to avoid inhaling any particles while cutting. Make sure your shoes have non-slip soles to prevent accidents. Remember, taking these precautions helps ensure that you can complete the job safely and effectively.
Preparing with the right tools and safety gear not only makes the job easier but also keeps you safe. It's better to spend a little extra time gathering everything you need than to rush and risk injury.
Preparing Your Windows for Plywood Installation
Before you can install plywood over your windows, a bit of preparation is necessary. This isn't just about grabbing a saw and some wood; it's about making sure everything fits perfectly. Here's how you get started.
Measuring and Marking Windows
First things first, you need to measure each window accurately. Grab a tape measure and note the width and height of the window openings, including the frames. It's a good idea to add an extra inch to each side, ensuring the plywood will overlap the frame slightly. This overlap is key for a secure fit. Once measured, mark the spots where the plywood will be attached. If you're unsure about how to do this, you might want to check out the White PGT Face Guide for some tips on enhancing window functionality.
Identifying Stud Locations
Next up, find those studs. You can't just screw plywood into the trim and hope for the best. Look for nailheads on the siding as they often indicate where studs are located. If they're not visible, you might have to use a drill to probe a bit. Make sure you mark these spots clearly, as they are where you'll attach the plywood for maximum strength.
Cutting Plywood to Size
Now, onto the cutting. Use a circular saw for straight cuts and a jigsaw for any curves. If you're labeling the panels, number them according to the window they’ll cover, and indicate which side is up. This step is super helpful if you need to put them up quickly when a storm is approaching. Consider priming and painting the edges to protect against weather damage if you plan to reuse them. Remember, each piece should extend at least an inch beyond the window frame on all sides for that snug fit.
Step-by-Step Guide to Installing Plywood Over Windows
Attaching Plywood to Wood or Vinyl Siding
Start by ensuring your plywood is cut to size, with each piece extending at least an inch beyond the window frame. Hold the plywood against the window, ensuring the labeled side is facing out. Drill corrosion-resistant hanger bolts into the window's framing at the top, sides, and bottom, spacing them 16 inches apart. If your window has an extended sill, rest the plywood on it to avoid drilling into the sill. Align the pre-drilled holes in the plywood with these bolts, and use nuts and washers to secure the board. Once the storm has passed, simply remove the nuts and washers to take down the plywood, leaving the bolts in place for future use.
Securing Plywood on Brick or Masonry
For brick or masonry exteriors, you'll need 4-inch barrel bolts. Attach these bolts to the plywood, spacing them 16 inches apart on all sides. Position the plywood inside the window frame and mark where the bolts align with the wall. Use a masonry bit to attach the barrel bolt keepers to the wall. Slide the bolt plungers into the keepers to secure the plywood. After the storm, carefully remove the plungers and store the plywood for future use.
Using Hurricane Clips for Easy Installation
Hurricane clips are a great option for those who prefer not to drill into their window frames. After cutting the plywood to size, position it over the window with a two-inch overlap on all sides. Space the clips about 18 inches apart along the plywood's edge, adjusting as necessary for window size. Press each clip onto the plywood and window frame until it snaps securely into place. These clips provide sturdy support and are easy to remove once the storm threat has passed.
Pro Tip: Label each plywood piece with its corresponding window and mark the top side to streamline future installations. This simple step can save precious time when preparing for an incoming storm.
With these steps, your windows will be well-protected against hurricane forces. Remember to prioritize safety by wearing gloves and safety glasses during installation.
Aftercare and Storage of Plywood Panels
Cleaning and Inspecting Plywood
Once the storm has passed, it's time to take down your plywood panels. Carefully remove each one and inspect them for any signs of damage. Look for cracks, warping, or any other issues that might compromise their effectiveness in the future. If you spot any significant damage, it's best to replace those panels before the next hurricane season. Cleaning is also crucial. Wipe off any dirt or debris and ensure the panels are completely dry to prevent mold or deterioration.
Proper Storage Techniques
Storing your plywood correctly can make a big difference in how long they last. Ideally, you should store them flat in a dry, climate-controlled area like a garage or shed. This helps prevent warping. If space is tight, try stacking them with spacers in between to allow air circulation. In case you need to store them outside, cover them with a waterproof tarp to protect against moisture.
Reusing Plywood for Future Storms
With proper care, plywood panels can be reused for several storm seasons. Make sure to store any fasteners or clips in a dry place to avoid rust. Aluminum panel clips are a great choice as they're resistant to rust and can be reused alongside your plywood. By following these steps, you'll have your materials ready for the next storm, saving time and money.
Alternative Methods for Hurricane Window Protection
Exploring Hurricane Shutters
Hurricane shutters are a solid option if you're looking for something more permanent than plywood. They come in various styles, like roll-down and accordion, and are designed to handle high winds and flying debris. Sure, they cost more upfront than plywood, but they save time and effort when a storm's brewing. You just roll them down, and you're set.
Considering Impact-Resistant Windows
If you're thinking long-term, impact-resistant windows might be the way to go. These storm windows are built to withstand strong winds and debris without breaking. Yes, they're a big investment, but they offer continuous protection year-round. No need to worry about last-minute boarding up when a storm is on the horizon.
Comparing Costs and Benefits
When choosing between these options, it's essential to weigh the costs against the benefits. Here's a quick comparison:
| Protection Method | Initial Cost | Maintenance | Ease of Use |
|---|---|---|---|
| Plywood | Low | Moderate | Low |
| Hurricane Shutters | Medium | Low | High |
| Impact-Resistant Windows | High | Low | High |
Remember, investing in better protection can save you from costly repairs after a storm. It's not just about the upfront cost but also the peace of mind knowing your home is secure.
Thinking about the right choice involves considering your budget, the level of protection you need, and how much effort you're willing to put into preparation.
Wrapping It Up: Your Home's Shield Against Hurricanes
So, there you have it. Boarding up your windows with plywood might seem like a big task, but it's one of the best ways to keep your home safe when a hurricane's on the horizon. With the right materials and a bit of elbow grease, you can make sure those windows are ready to face whatever Mother Nature throws at them. Remember, it's all about preparation. Having everything ready before the storm hits can save you a lot of stress and potential damage. Plus, once you've done it a couple of times, it'll become second nature. Stay safe out there, and here's to hoping you never have to use this guide—but if you do, you'll be ready.
Frequently Asked Questions
Why should I use plywood to protect my windows during a hurricane?
Plywood is a strong and affordable way to shield windows from flying debris and strong winds. It can prevent broken windows, which can help avoid damage inside your home.
What thickness of plywood is recommended for hurricane protection?
It's best to use plywood that is at least 5/8-inch thick. This thickness provides a sturdy barrier against the harsh weather conditions of a hurricane.
How do I measure my windows for plywood installation?
Measure the height and width of each window, adding at least an extra inch to each side. This ensures the plywood will overlap the window frame for better protection.
What tools do I need to install plywood over my windows?
You'll need a tape measure, pencil, circular saw, drill, and the right fasteners. Safety gear like gloves and goggles is also important to protect yourself while working.
Can I reuse the plywood after a storm?
Yes, if the plywood is still in good condition, you can clean and store it properly for future use. Make sure to inspect it for any damage before reusing.
Are there alternatives to using plywood for window protection?
Yes, alternatives include hurricane shutters and impact-resistant windows. These options can offer more convenience and sometimes better protection, but they might be more expensive.