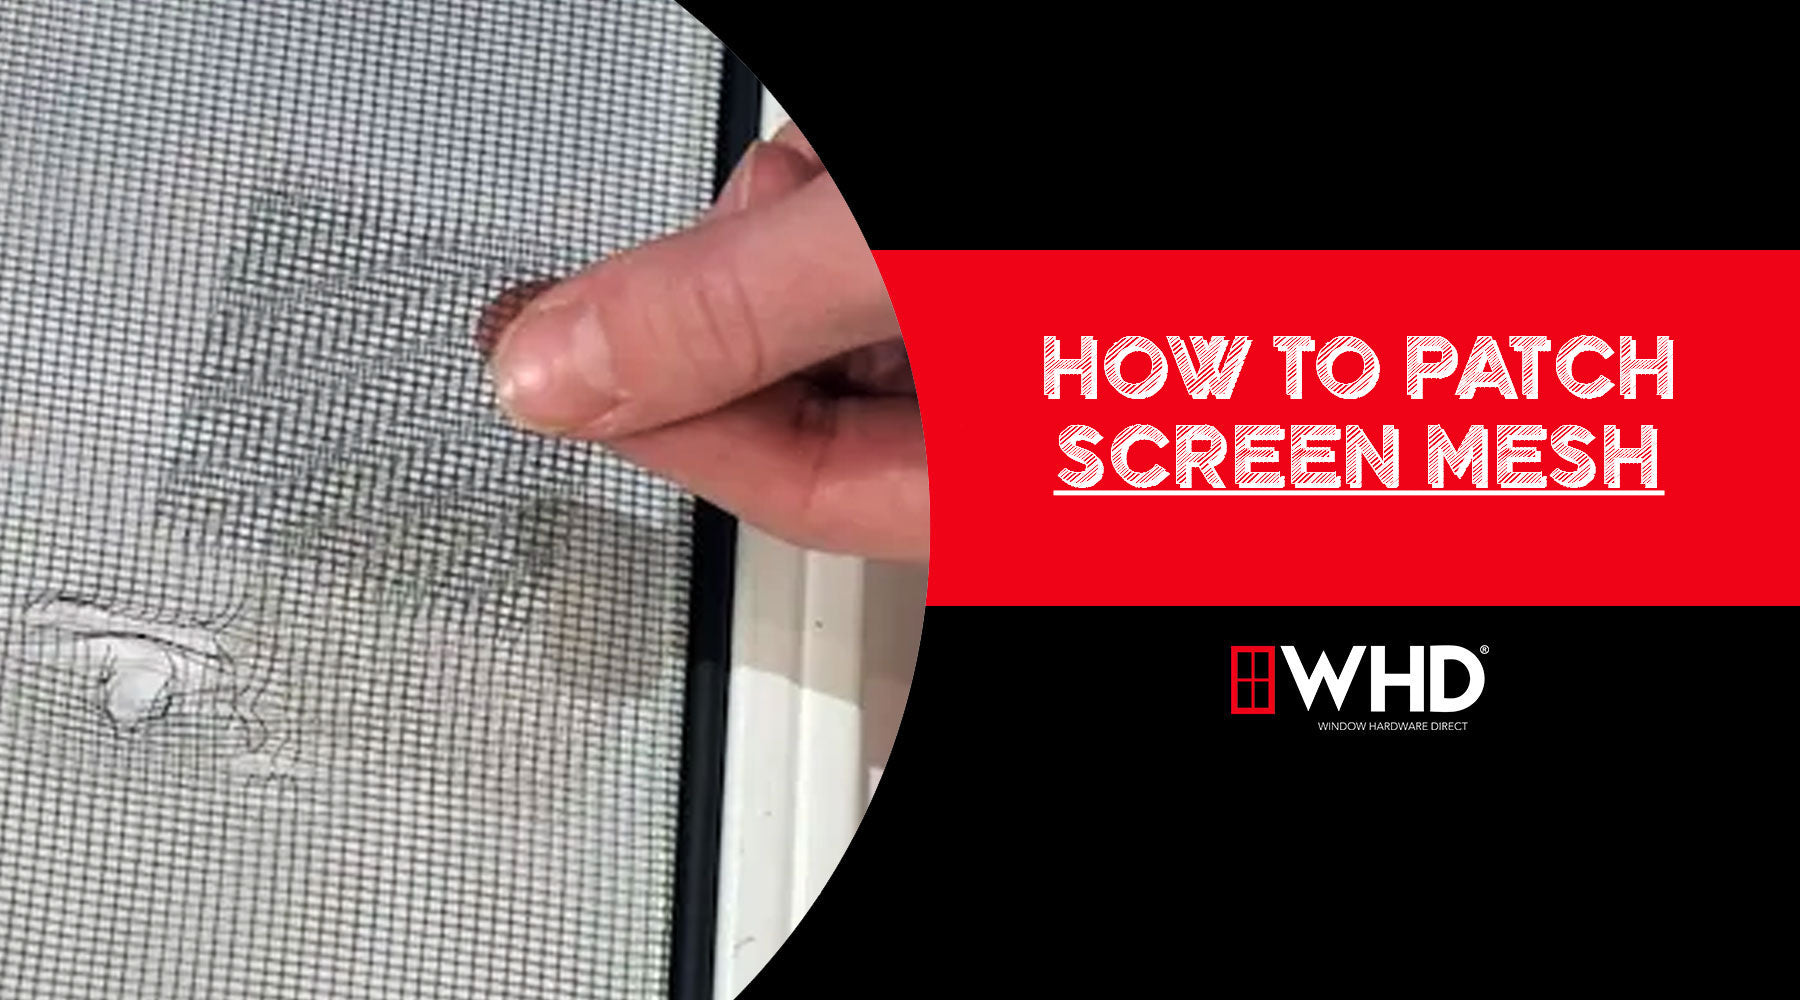
How to Patch Screen Mesh: A Step-by-Step Guide
Screen mesh, commonly used in windows and doors to keep insects out while allowing fresh air to circulate, can occasionally develop holes or tears. Patching these holes promptly is essential to maintain the functionality and aesthetics of your screens. Here’s a comprehensive guide on how to patch screen mesh effectively.
Materials Needed:
- Replacement screen mesh
- Screen repair kit
- Scissors
- Measuring tape or ruler
- Screen roller tool (or spline roller)
- Utility knife
- Spline (rubber cord used to secure the mesh in the frame)
- Clear adhesive or screen repair tape (for small holes)
Step-by-Step Instructions:
-
Assess the Damage
Before you begin, examine the screen to determine the size and severity of the hole. Small holes (less than 1/4 inch) can be repaired using adhesive or repair tape, while larger tears will require a screen patch or replacement of the damaged section.

-
Choose Your Repair Method
For small holes:
- Clear Adhesive: Apply a small amount of clear adhesive directly onto the hole and press the mesh together. Allow it to dry thoroughly before use.
- Screen Repair Tape: Cut a piece of screen repair tape slightly larger than the hole and press it firmly over the damaged area.
For larger holes:
- Screen Patch Kit: These kits typically include a piece of mesh and adhesive. Cut the patch to size, ensuring it covers the hole with an extra half-inch around all edges. Apply adhesive around the hole and press the patch into place.
- Replacement Mesh: If the hole is too large for a patch, you might need to replace the entire section of the mesh.

-
Prepare the Screen Frame
If you’re using a screen patch kit or replacing a section, you’ll need to remove the screen from its frame. Lay the frame on a flat surface and use a utility knife to cut the spline and remove the damaged mesh.

-
Cut the Replacement Mesh
Measure the area of the screen frame and cut the replacement mesh accordingly, leaving an extra inch on all sides to ensure a snug fit.

-
Install the Replacement Mesh
Place the replacement mesh over the frame, aligning it evenly. Use a screen roller tool or spline roller to press the mesh into the groove of the frame. Start at one corner and work your way around, ensuring the mesh remains taut.

-
Secure the Mesh
Once the mesh is in place, cut a piece of spline slightly longer than the perimeter of the frame. Use the screen roller tool to press the spline into the groove over the mesh, securing it tightly. Trim any excess spline with a utility knife.

-
Trim the Excess Mesh
After securing the spline, use a utility knife to carefully trim any excess mesh around the edges of the frame.

-
Reinstall the Screen
With the new mesh in place, reinstall the screen frame into the window or door.

Tips for Long-Lasting Repairs
-
Regular Inspection:
Periodically check your screens for new holes or tears, especially during seasons with high insect activity.
-
High-Quality Materials:
Invest in high-quality mesh and repair kits to ensure durability and longevity.
-
Proper Tension:
Ensure the mesh is taut during installation to prevent sagging and future damage.
Conclusion
By following these steps, you can efficiently patch screen mesh and extend the life of your screens, keeping your home insect-free and well-ventilated. Whether you’re dealing with small holes or larger tears, the right tools and techniques will help you achieve a professional-looking repair. For more information on how to patch screen mesh or to order replacement materials, Contact Us Today! The WHD Team is here to assist you.
