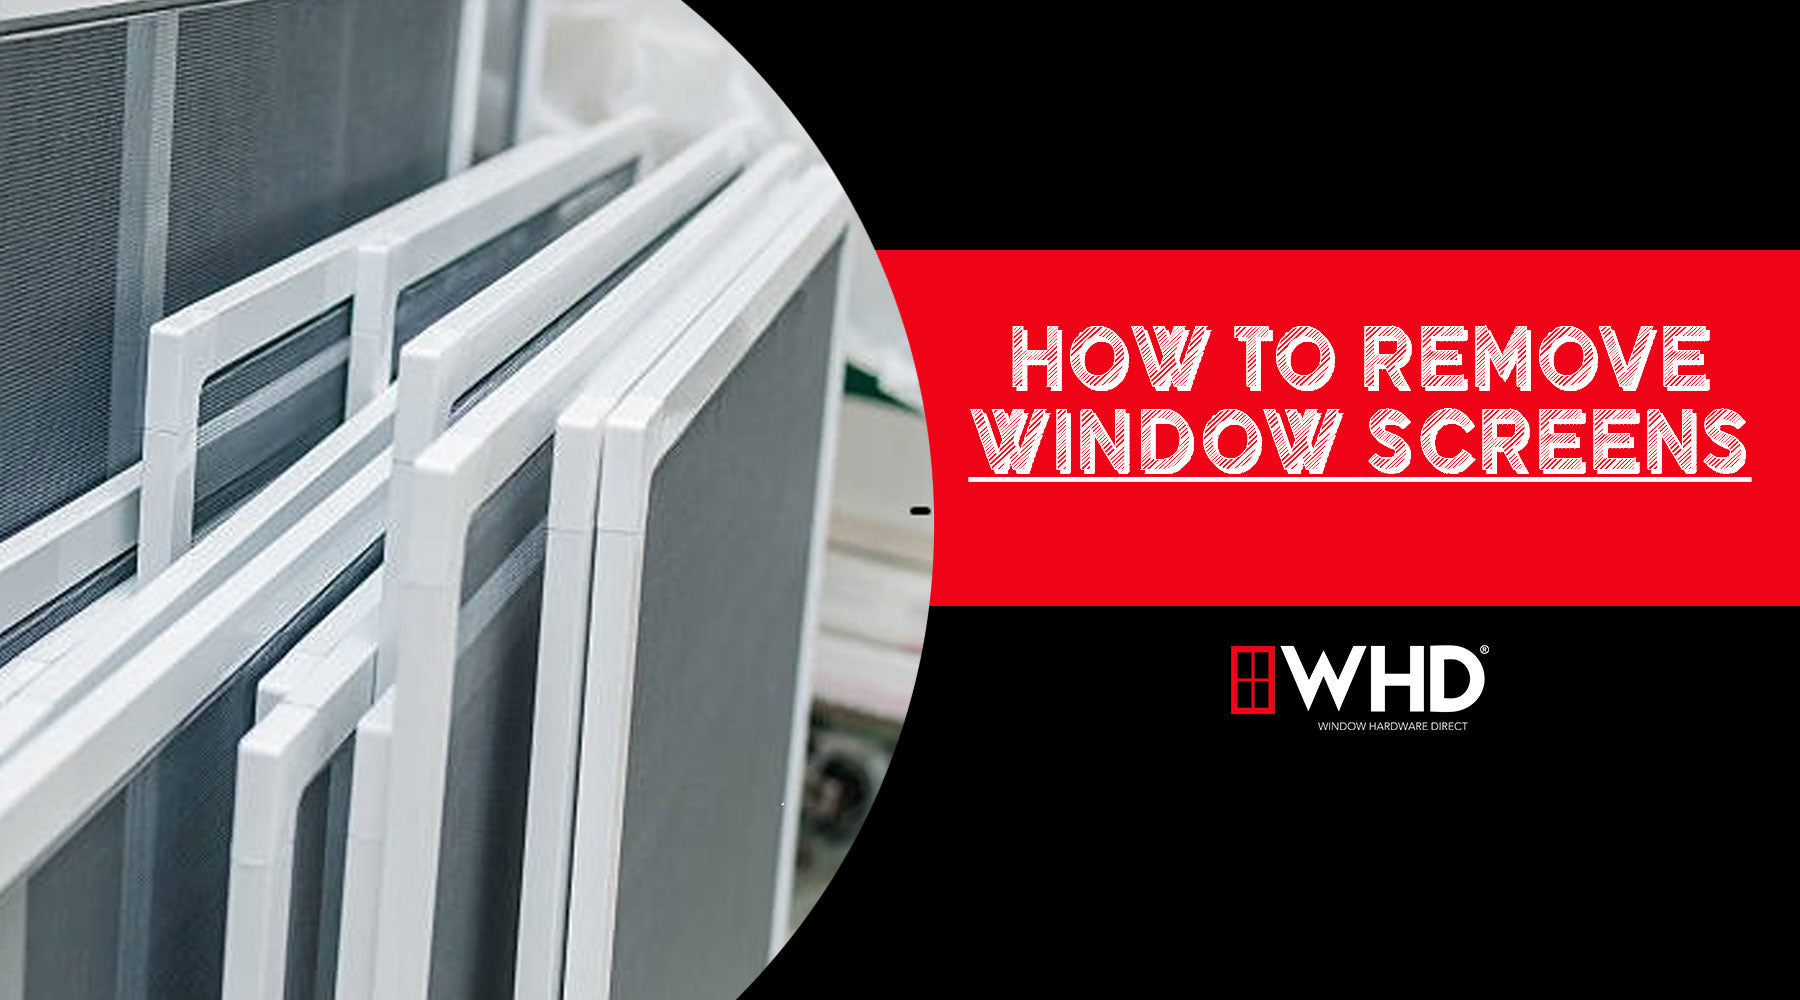
How to Remove a Window Screen: Step-by-Step Guide
Window screens keep bugs out while letting in fresh air, but sometimes they need to come out—whether for cleaning, replacement, or repairs. Knowing how to remove a window screen properly will help you avoid bending the frame or damaging the mesh.
1. Identify Your Screen Type
Different windows have different screen setups:
-
Interior-mounted screens – Removed from inside the home.
-
Exterior-mounted screens – Removed from outside.
-
Sliding window screens – Slide in and out of a track.
-
Casement window screens – Usually held with clips or turn buttons.
Identifying your screen type ensures you know where to locate the latches or fasteners.

2. Gather What You Need
Most window screens can be removed without tools. However, a flathead screwdriver, putty knife, or matching screwdriver can help if the screen is tight or secured with screws.

3. Release the Screen
Look for the release mechanism:
-
Spring-loaded pins – Press inward to release one side.
-
Pull tabs – Gently pull to free the screen.
-
Turn clips – Rotate to unlock the edge.
If it’s exterior-mounted, open the window fully to access these parts.

4. Tilt and Lift Out
Once released, tilt the screen slightly and lift it out carefully. Avoid forcing it—this can warp the frame.

5. Store or Clean
Label screens before storing them for the season, and clean them gently with mild soap and water. Always dry before reinstalling.
Pro Tip: If the screen is stuck, check for dried paint or dirt in the frame. Loosen it with a putty knife to prevent damage.

Conclusion
With these steps, removing a window screen becomes a quick and easy task that keeps your windows in great shape. For more information on removing window screens or assistance ordering replacement screen hardware, Contact Us Today! The WHD Team looks forward to speaking with you.