How to Remove Window Screen with Plunger Pins: A Step-by-Step Guide
Window screens are essential for keeping out bugs while letting in fresh air, but sometimes you need to remove them—for cleaning, repairs, or to get better airflow. If your screens are held in place with plunger pins, you're in luck: this is one of the simplest and most user-friendly designs. In this guide, we’ll walk you through how to remove a window screen with plunger pins safely and easily.
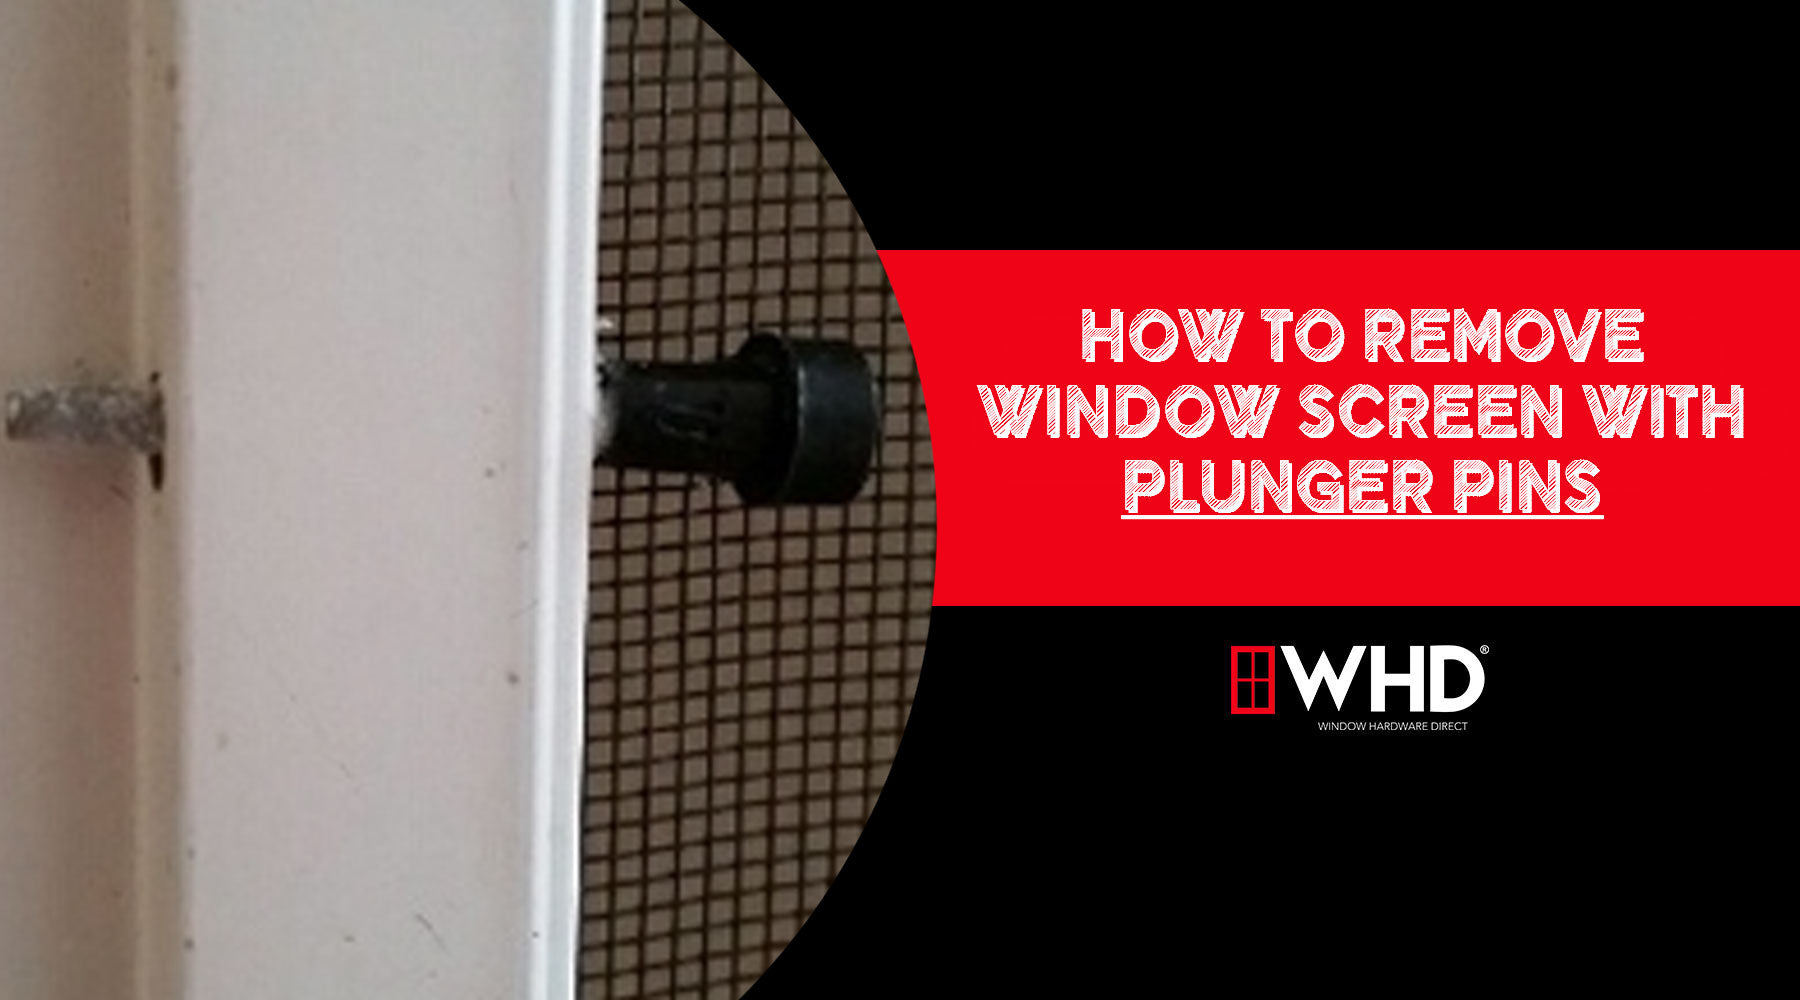
What Are Plunger Pins?
Plunger pins are small, spring-loaded pins located on either side of a window screen's frame. They allow the screen to be securely fastened within the window frame while remaining easy to remove without any tools. You'll usually find them on interior-mounted screens, especially on sliding or double-hung windows.

Tools You’ll Need:
-
None! (Though a flathead screwdriver can be helpful if the screen is stuck.)
Step-by-Step Instructions
1. Open the Window
Start by opening your window fully. This gives you clear access to the screen and makes it easier to maneuver it out of the frame.

2. Locate the Plunger Pins
Look at the upper corners of the window screen. You should see two small knobs or tabs—these are the plunger pins. They may be on the left and right sides, depending on your window type.

3. Press the Plunger Pins Inward
Using your fingers, simultaneously press both plunger pins toward the center of the screen. This compresses the springs and releases the screen from the frame's side tracks.

4. Tilt and Pull the Screen Toward You
While keeping the plunger pins depressed, gently tilt the top of the screen toward you. Once the top edge is free, you can lift the screen slightly and pull it out of the window opening.
Tip: If the screen seems stuck, gently work around the edges with your fingers or a flathead screwdriver to loosen it. Avoid using too much force to prevent bending the frame.

5. Store or Clean the Screen
Once removed, place the screen in a safe area if you're planning to reinstall it later. If you’re removing it for cleaning, now’s a great time to rinse it with mild soap and water and let it dry thoroughly before reinstallation.

Reinstalling the Screen
To put the screen back:
-
Insert the bottom edge into the window frame track first.
-
Compress the plunger pins again.
-
Tilt the top of the screen back into place while releasing the pins.
-
Ensure the screen is snug and seated correctly in the frame.
Conclusion
Now that you know how to remove a window screen with plunger pins, you can easily take care of routine maintenance or swap it out as needed. The key is to handle the screen gently and remember that those plunger pins are designed to make your life easier—not harder.
With just a few seconds of effort, you can pop out the screen and go about your task, whether that’s cleaning, replacing, or enjoying an unobstructed view. For more information on window screens or assistance ordering replacement hardware, Contact Us Today! The WHD Team is here to help.