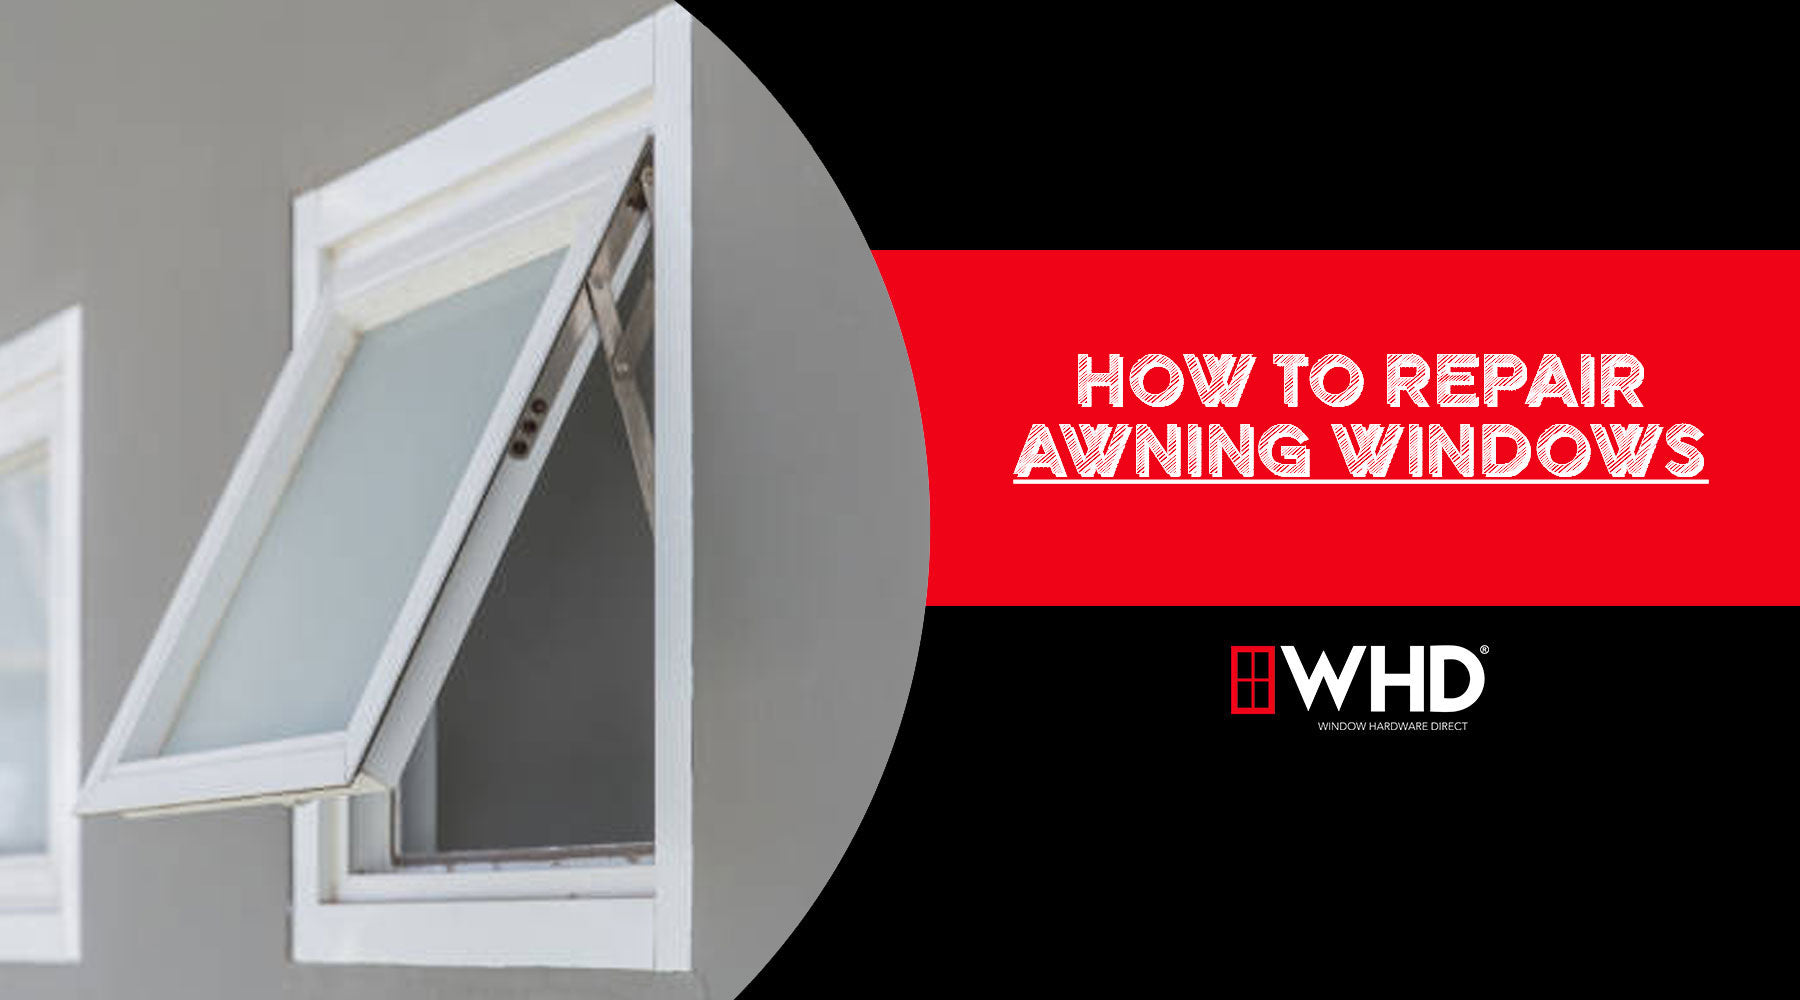
How to Repair Awning Windows: A Step-by-Step Guide
Awning windows are a popular choice for homeowners due to their stylish design and excellent ventilation capabilities. Hinged at the top and opening outward from the bottom, these windows allow fresh air in while keeping rain and debris out. However, like any other component of a home, they can experience wear and tear over time. If you’re wondering how to repair awning windows, this guide will walk you through common issues and solutions.
Common Issues with Awning Windows
Awning windows can develop several problems, including:
-
Broken or malfunctioning hinges – The hinges allow the window to open and close smoothly. If they become rusted or damaged, the window may not operate properly.
-
Faulty cranks or operators – The crank mechanism can wear out over time, making it difficult to open or close the window.
-
Damaged or worn-out weatherstripping – If the weatherstripping deteriorates, it can lead to air and water leaks.
-
Cracked or broken glass – Accidents or extreme weather conditions can cause glass panes to crack or shatter.
-
Loose or misaligned window frame – Over time, the frame may shift, leading to difficulties in operation.

Tools and Materials You May Need:
-
Screwdriver
-
Replacement hinges or crank operators
-
Glass replacement kit (if necessary)
-
Putty knife
-
Measuring tape
Steps to Repair Awning Windows
Step 1: Inspect the Window
Start by carefully examining the window to identify the exact problem. Try opening and closing it to determine whether the issue lies with the hinges, crank, weatherstripping, or glass.

Step 2: Repair or Replace the Crank Mechanism
-
Remove the crank handle by unscrewing it.
-
Take off the cover to access the crank operator.
-
If the crank is jammed, try lubricating it with a silicone-based spray.
-
If lubrication doesn’t work, remove the old crank mechanism and replace it with a new one.

Step 3: Fixing Hinges and Frame Issues
-
If the window doesn’t open or close smoothly, check the hinges for rust or debris buildup.
-
Clean the hinges and apply a lubricant to improve movement.
-
If the hinges are bent or broken, unscrew and replace them with new ones.
-
If the window frame is misaligned, tighten any loose screws or adjust the frame as needed.

Step 4: Replacing Weatherstripping
-
If you notice air or water leaks, remove the old weatherstripping using a putty knife.
-
Measure and cut a new strip to fit the window edges.
-
Secure the new weatherstripping in place to improve insulation and seal out drafts.

Step 5: Replacing Broken Glass (If Needed)
-
Carefully remove any remaining pieces of broken glass.
-
Measure the dimensions of the windowpane and order a replacement.
-
Install the new glass using glazing putty or adhesive, ensuring a secure fit.

Step 6: Test the Window
After making the necessary repairs, open and close the window multiple times to ensure smooth operation. Check for any air leaks or misalignment.

Preventive Maintenance Tips
To extend the lifespan of your awning windows, follow these maintenance tips:
-
Lubricate moving parts regularly to prevent rust and friction.
-
Clean the tracks and hinges to remove dirt and debris.
-
Inspect the weatherstripping annually and replace it if worn out.
-
Tighten loose screws to maintain a secure frame.
Conclusion
Now that you know how to repair awning windows, you can confidently tackle common issues without needing professional help. Regular maintenance and prompt repairs will keep your windows in excellent condition, ensuring they remain functional and energy-efficient for years to come. For more information on repairing awning windows or help ordering replacement parts, Contact Us Today! The WHD Team looks forward to assisting you.