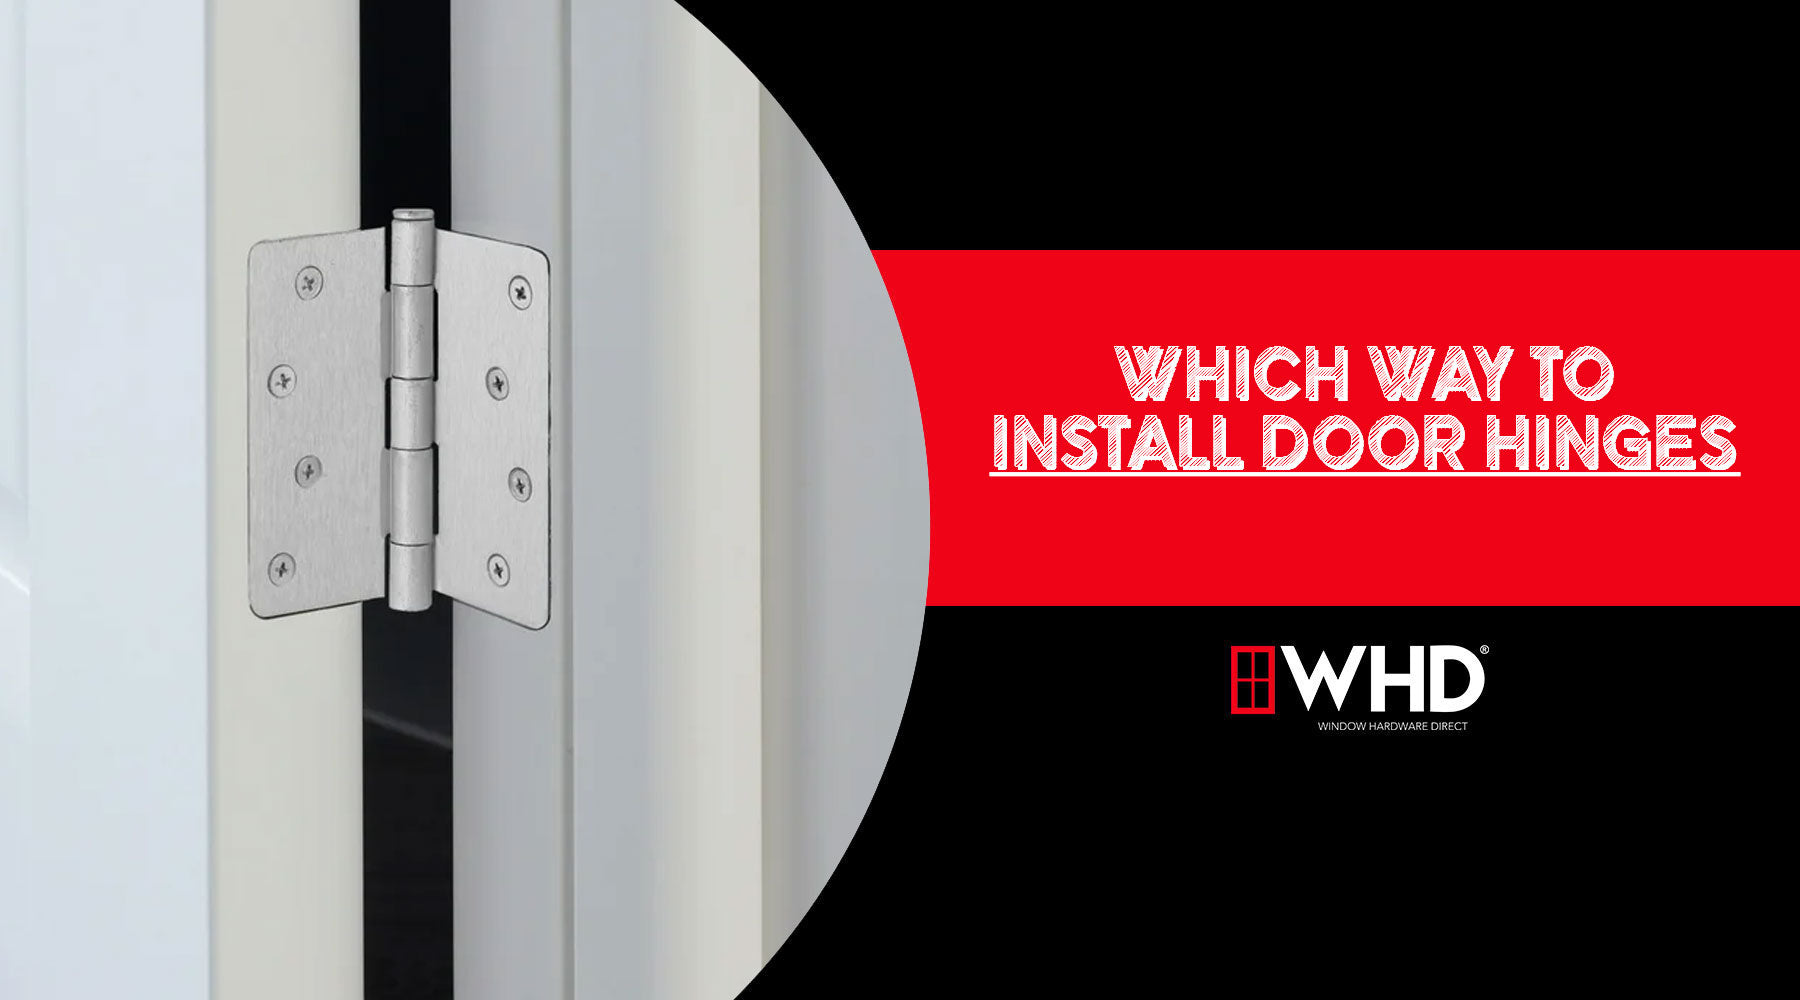
Which Way to Install Door Hinges: A Simple Guide for Beginners
When it comes to hanging a door properly, one of the most common questions is: which way to install door hinges? Installing door hinges might seem straightforward, but doing it correctly ensures the door operates smoothly, lasts longer, and looks professional. Whether you’re replacing an old door or installing a brand-new one, understanding hinge orientation is crucial.
Understanding Door Hinges Basics
Door hinges consist of two plates joined by a pin. One plate attaches to the door frame, and the other attaches to the door itself. The hinge’s purpose is to allow the door to swing open and closed with ease.

Which Way to Install Door Hinges: Left or Right?
The first thing to determine is the door swing direction. Doors can swing inward or outward, and they can be left-handed or right-handed:
-
Left-handed door: Hinges are installed on the left side as you face the door.
-
Right-handed door: Hinges go on the right side.
Knowing this will help you figure out on which side the hinges should be installed.
Hinge Orientation: Pin Up or Pin Down?
Typically, door hinges are installed with the pin on top. The pin is removable and holds the hinge together. Installing hinges with the pin on top helps prevent dust and debris from accumulating inside, ensuring smoother movement. Although hinges can work upside down, it’s best practice to have the pin at the top for maintenance and durability.

Steps to Install Door Hinges Correctly
-
Mark hinge placement: On the door frame and the door, measure and mark where the hinges will go—usually 7 inches from the top and 11 inches from the bottom.

-
Mortise the hinge: Use a chisel to create shallow recesses (mortises) for the hinge plates so they sit flush.

-
Attach hinges to door: Screw the hinge plates onto the door first.

-
Position the door: Hold the door in place within the frame.

-
Attach hinges to frame: Screw the other side of each hinge into the door frame.

-
Check swing and alignment: Make sure the door swings freely without sticking or scraping.

Common Mistakes to Avoid
-
Installing hinges on the wrong side, causing the door to swing the opposite way.
-
Not mortising hinges properly, leading to a door that doesn’t close flush.
-
Using the wrong screws or failing to secure the hinges tightly.
Conclusion
So, which way to install door hinges? Always install hinges on the side corresponding to the door’s swing (left or right), with the hinge pin oriented at the top. Following these guidelines will make your door installation sturdy, functional, and long-lasting. For more information on installing door hinges or assistance ordering replacement hinges, Contact Us Today! The WHD Team looks forward to speaking with you.
